Fixing Chrome’s Waiting for Cache Issue
Unleashing the Speed: Addressing Chrome’s Persistent Cache Hesitation
Understanding the meaning of “Waiting for cache”
“Waiting for cache” is an error message that can occur in Google Chrome when the browser is having trouble retrieving data from its cache. The cache is a temporary storage area on your computer where Chrome stores files and data from websites you visit, allowing for faster loading times. When Chrome displays the “Waiting for cache” message, it means that it is waiting for the cache to respond or retrieve the necessary data. This issue can be caused by various factors, such as a software bug, network connectivity problems, or a full cache. To fix it, try clearing your browser cache by going to the Settings menu, selecting Privacy and security, and clicking on Clear browsing data.
Additionally, Fortect can identify and repair any causes of freezing programs, such as damaged registry or excessive junk, ensuring that Chrome and other programs run smoothly.

Resolving cache issues in Google Chrome
- Open Google Chrome.
- Click on the three-dot menu icon located at the top-right corner of the browser window.

- Select Settings from the dropdown menu.
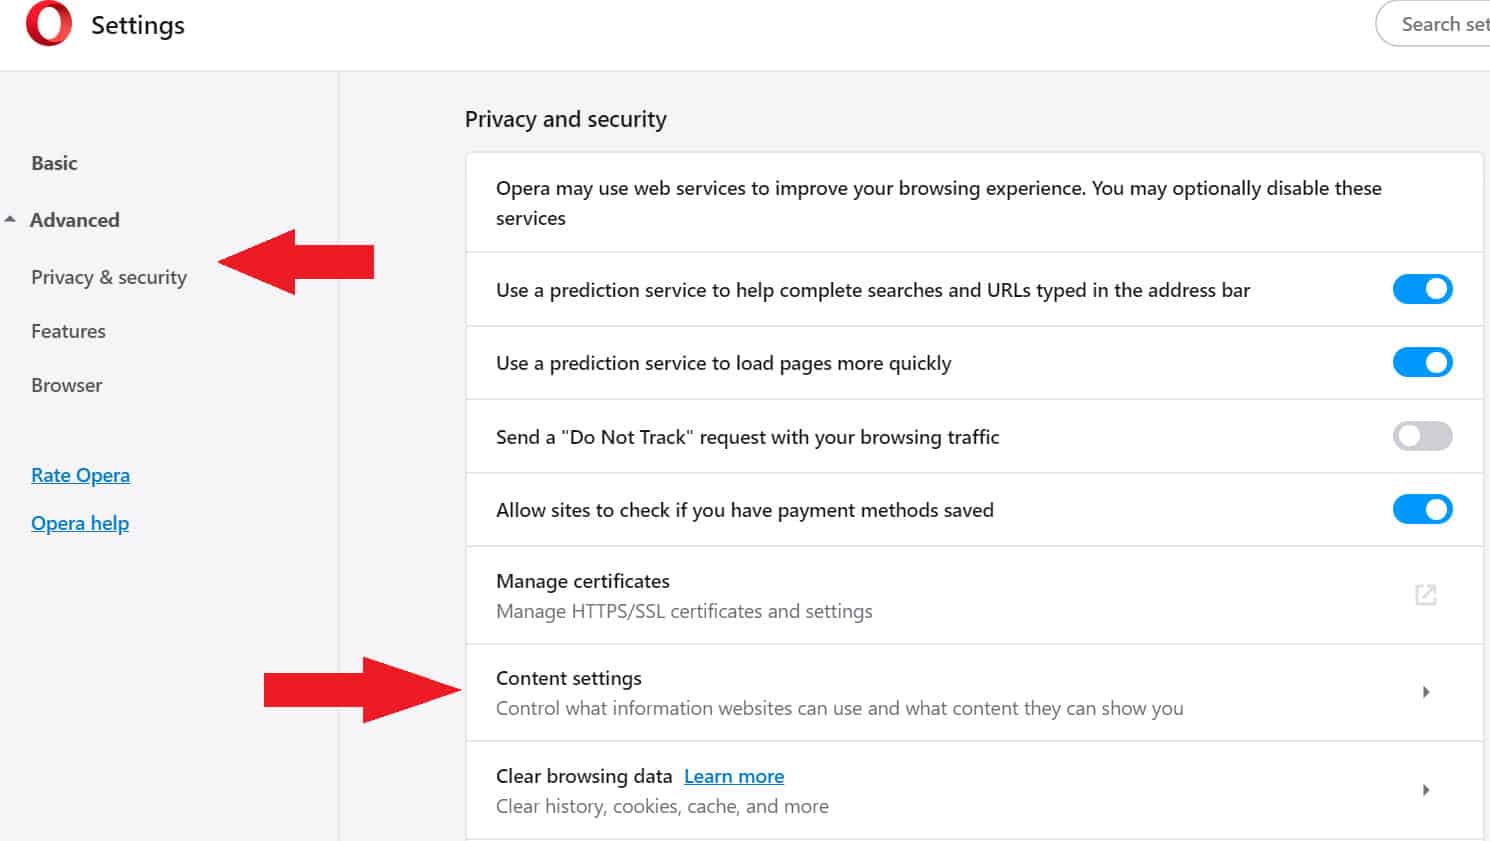
- Scroll down and click on Advanced to expand the advanced settings.
- Under the “Privacy and security” section, click on Clear browsing data.
- In the pop-up window, choose a time range for which you want to clear the cache (e.g., “the past hour,” “the past day,” etc.).
- Make sure the Cached images and files option is selected.
- Click on the Clear data button to clear the browser cache.
- Restart Google Chrome and check if the “Waiting for cache” issue is resolved.
Method 2: Disabling Cache in Developer Tools
- Open Google Chrome.
- Click on the three-dot menu icon located at the top-right corner of the browser window.
- Select More tools from the dropdown menu.
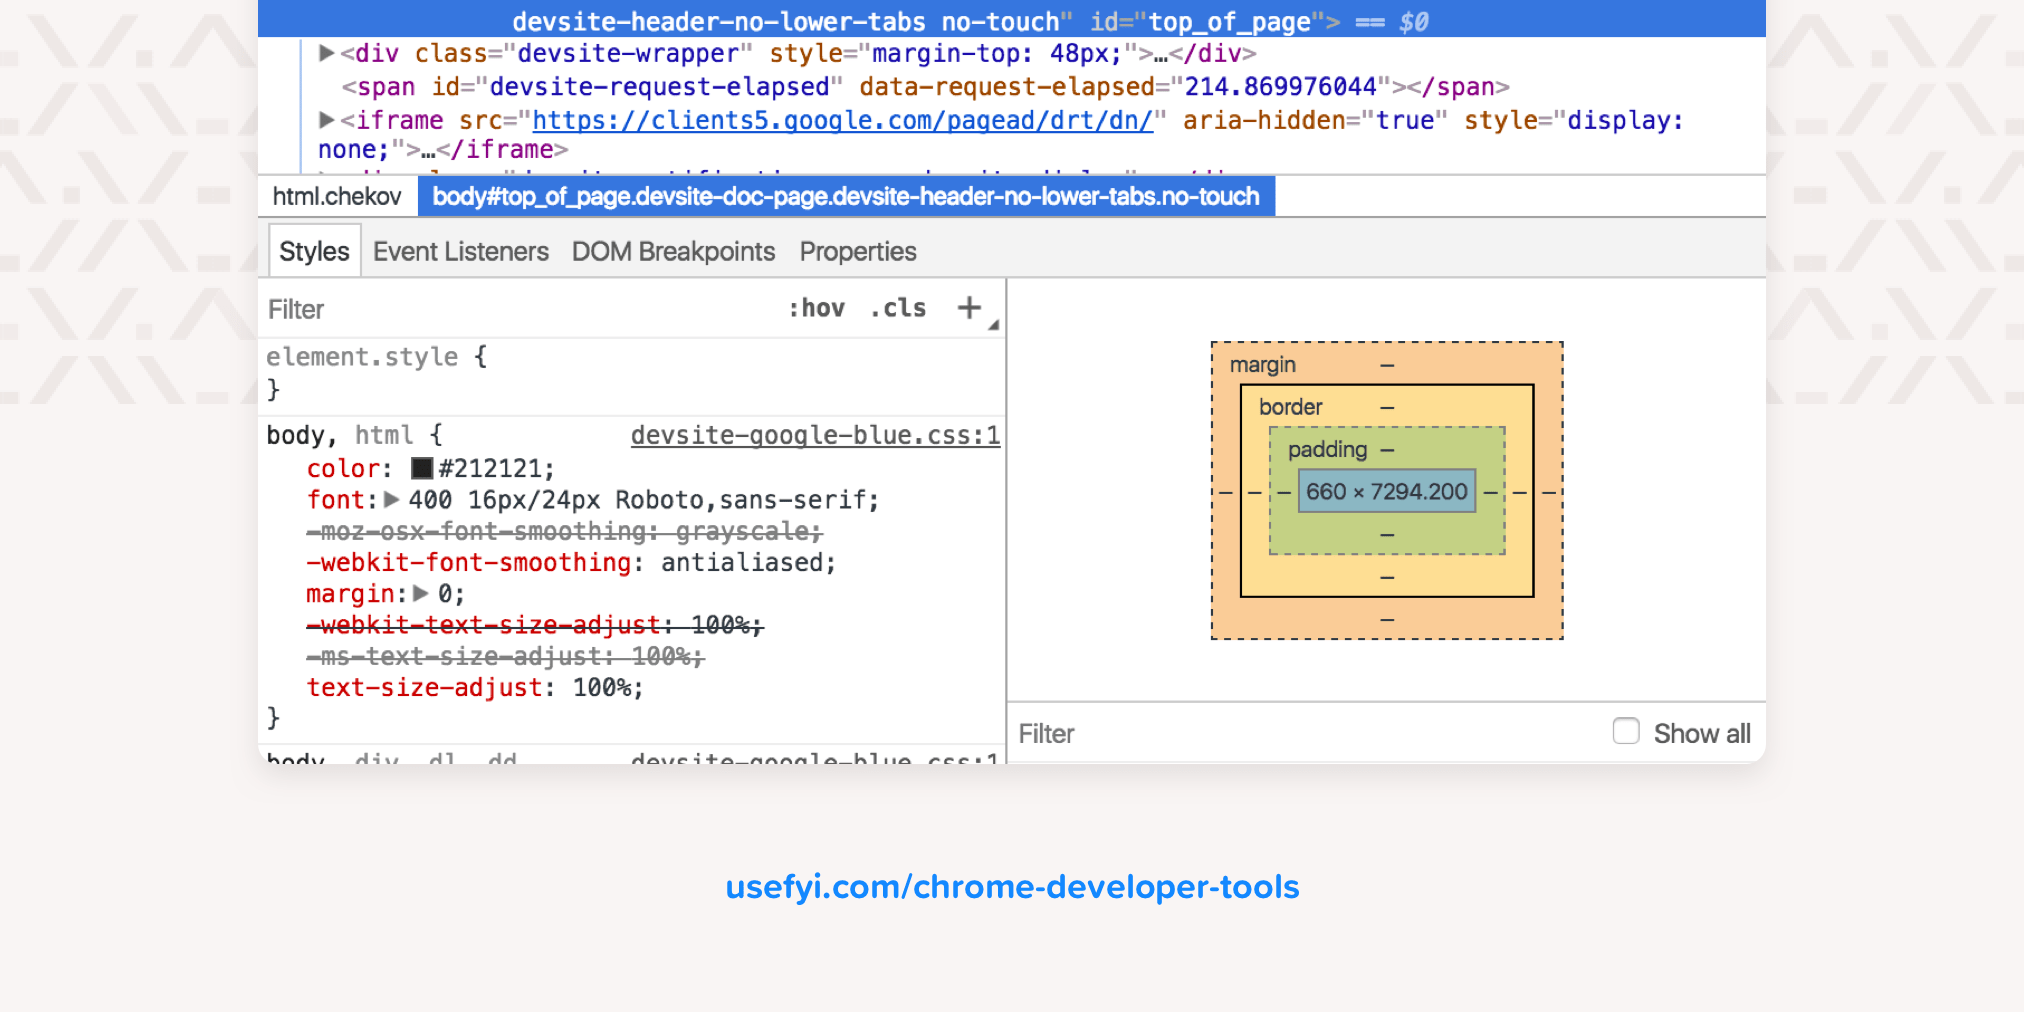
- Click on Developer tools to open the Chrome Developer Tools panel.
- In the Developer Tools panel, click on the three-dot menu icon located at the top-right corner.
- Click on Network conditions from the dropdown menu.
- Check the box next to Disable cache.
- Reload the webpage causing the cache issue and check if the problem is resolved.
Method 3: Resetting Chrome Flags
- Open Google Chrome.
- Type chrome://flags in the address bar and press Enter.
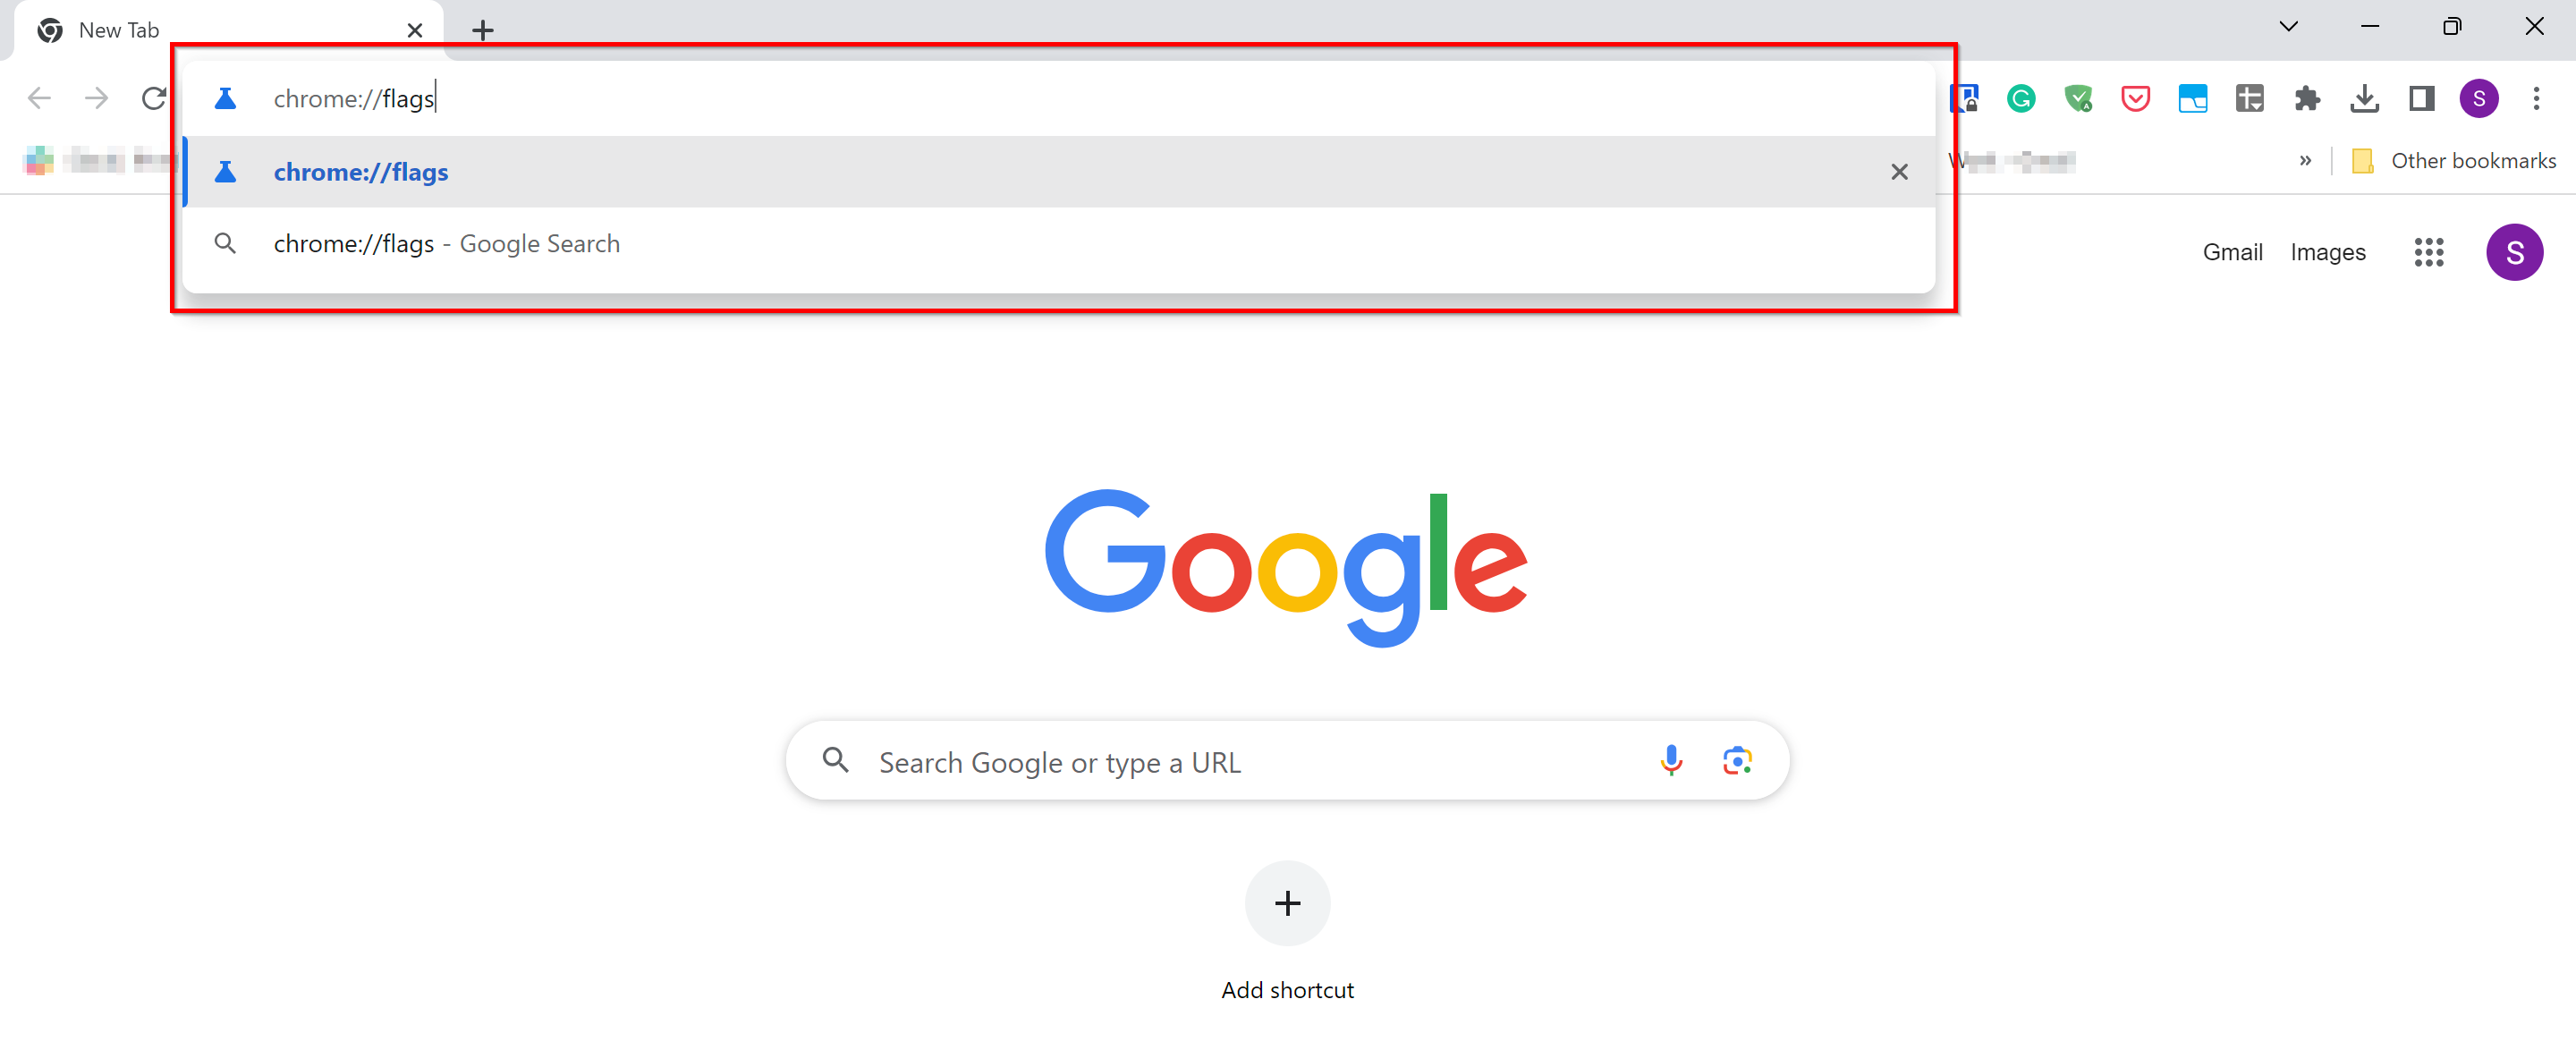
- On the Chrome Flags page, click on the Reset all to default button located at the top-right corner.
- Confirm the reset by clicking on the Reset all button in the pop-up window.
- Restart Google Chrome and check if the cache issue is resolved.
Optimizing cache settings in Google Chrome
To optimize cache settings in Google Chrome and fix the “Waiting for Cache” issue, follow these steps:
1. Open Google Chrome and click on the three-dot menu in the top-right corner.
2. Select “Settings” from the drop-down menu.
3. Scroll down and click on “Advanced” to expand the advanced settings.
4. Under the “Privacy and security” section, click on “Clear browsing data.”
5. In the pop-up window, select the time range for which you want to clear the cache.
6. Check the box next to “Cached images and files.”
7. Click on “Clear data” to remove the cached files.
8. Restart Google Chrome for the changes to take effect.
By clearing the cache, you can resolve issues related to page unresponsiveness, network errors, and freezing.
Troubleshooting and resetting Google Chrome
Fixing Chrome’s Waiting for Cache Issue
One common issue faced by Google Chrome users is the “Waiting for cache” error, which can cause slow page loading or even prevent websites from loading altogether. Here are some troubleshooting steps and methods to reset Google Chrome that can help resolve this issue.
| Troubleshooting Steps |
|---|
| 1. Clear Chrome’s browsing data: – Press Ctrl + Shift + Delete (Windows) or Command + Shift + Delete (Mac) to open the clear browsing data menu. – Select the desired time range and check “Cached images and files”. – Click on “Clear data” to remove the cached files. |
| 2. Disable browser extensions: – Type “chrome://extensions” in the address bar and press Enter. – Disable all extensions by toggling the switches to off. – Restart Chrome and check if the issue persists. |
| 3. Reset Chrome settings: – Type “chrome://settings/reset” in the address bar and press Enter. – Click on “Restore settings to their original defaults”. – Confirm the reset by clicking “Reset settings”. – Restart Chrome and check if the issue is resolved. |
| Resetting Google Chrome |
| Resetting Google Chrome to its default state can often resolve various issues, including the “Waiting for cache” problem. Here’s how to reset Chrome: – Type “chrome://settings/reset” in the address bar and press Enter. – Click on “Restore settings to their original defaults”. – Confirm the reset by clicking “Reset settings”. – Restart Chrome and check if the issue is resolved. |
It’s important to exercise caution when using Chrome, as it may occasionally experience delays in loading certain webpages. Download this tool to run a scan