Window Screen Won’t Go Back In – DIY Replacement Solution
Are you tired of wrestling with your window screen, unable to get it back in place? Fret not! In this article, we present you with a DIY replacement solution that will have your window screen securely installed in no time. Say goodbye to frustration and hello to a hassle-free fix!
How to Put a Window Screen Back in Place
If you’re struggling to put a window screen back in place, follow these simple steps:
1. Start by removing any old spline or debris from the window channels using a putty knife.
2. Slide the bottom of the screen into the window channels, making sure it fits snugly.
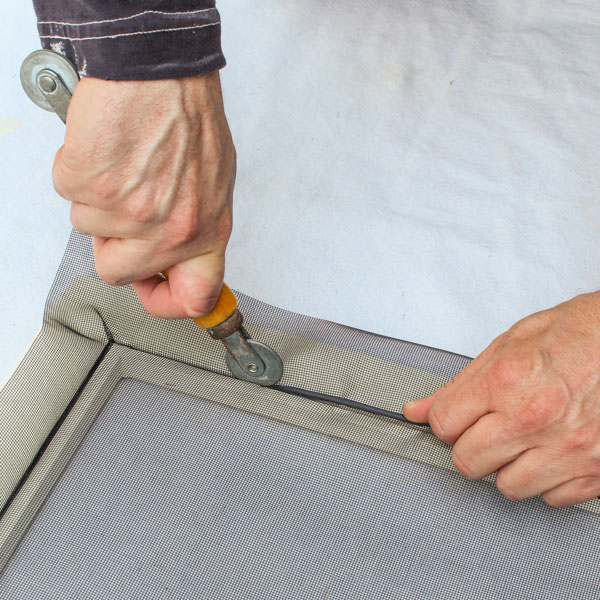
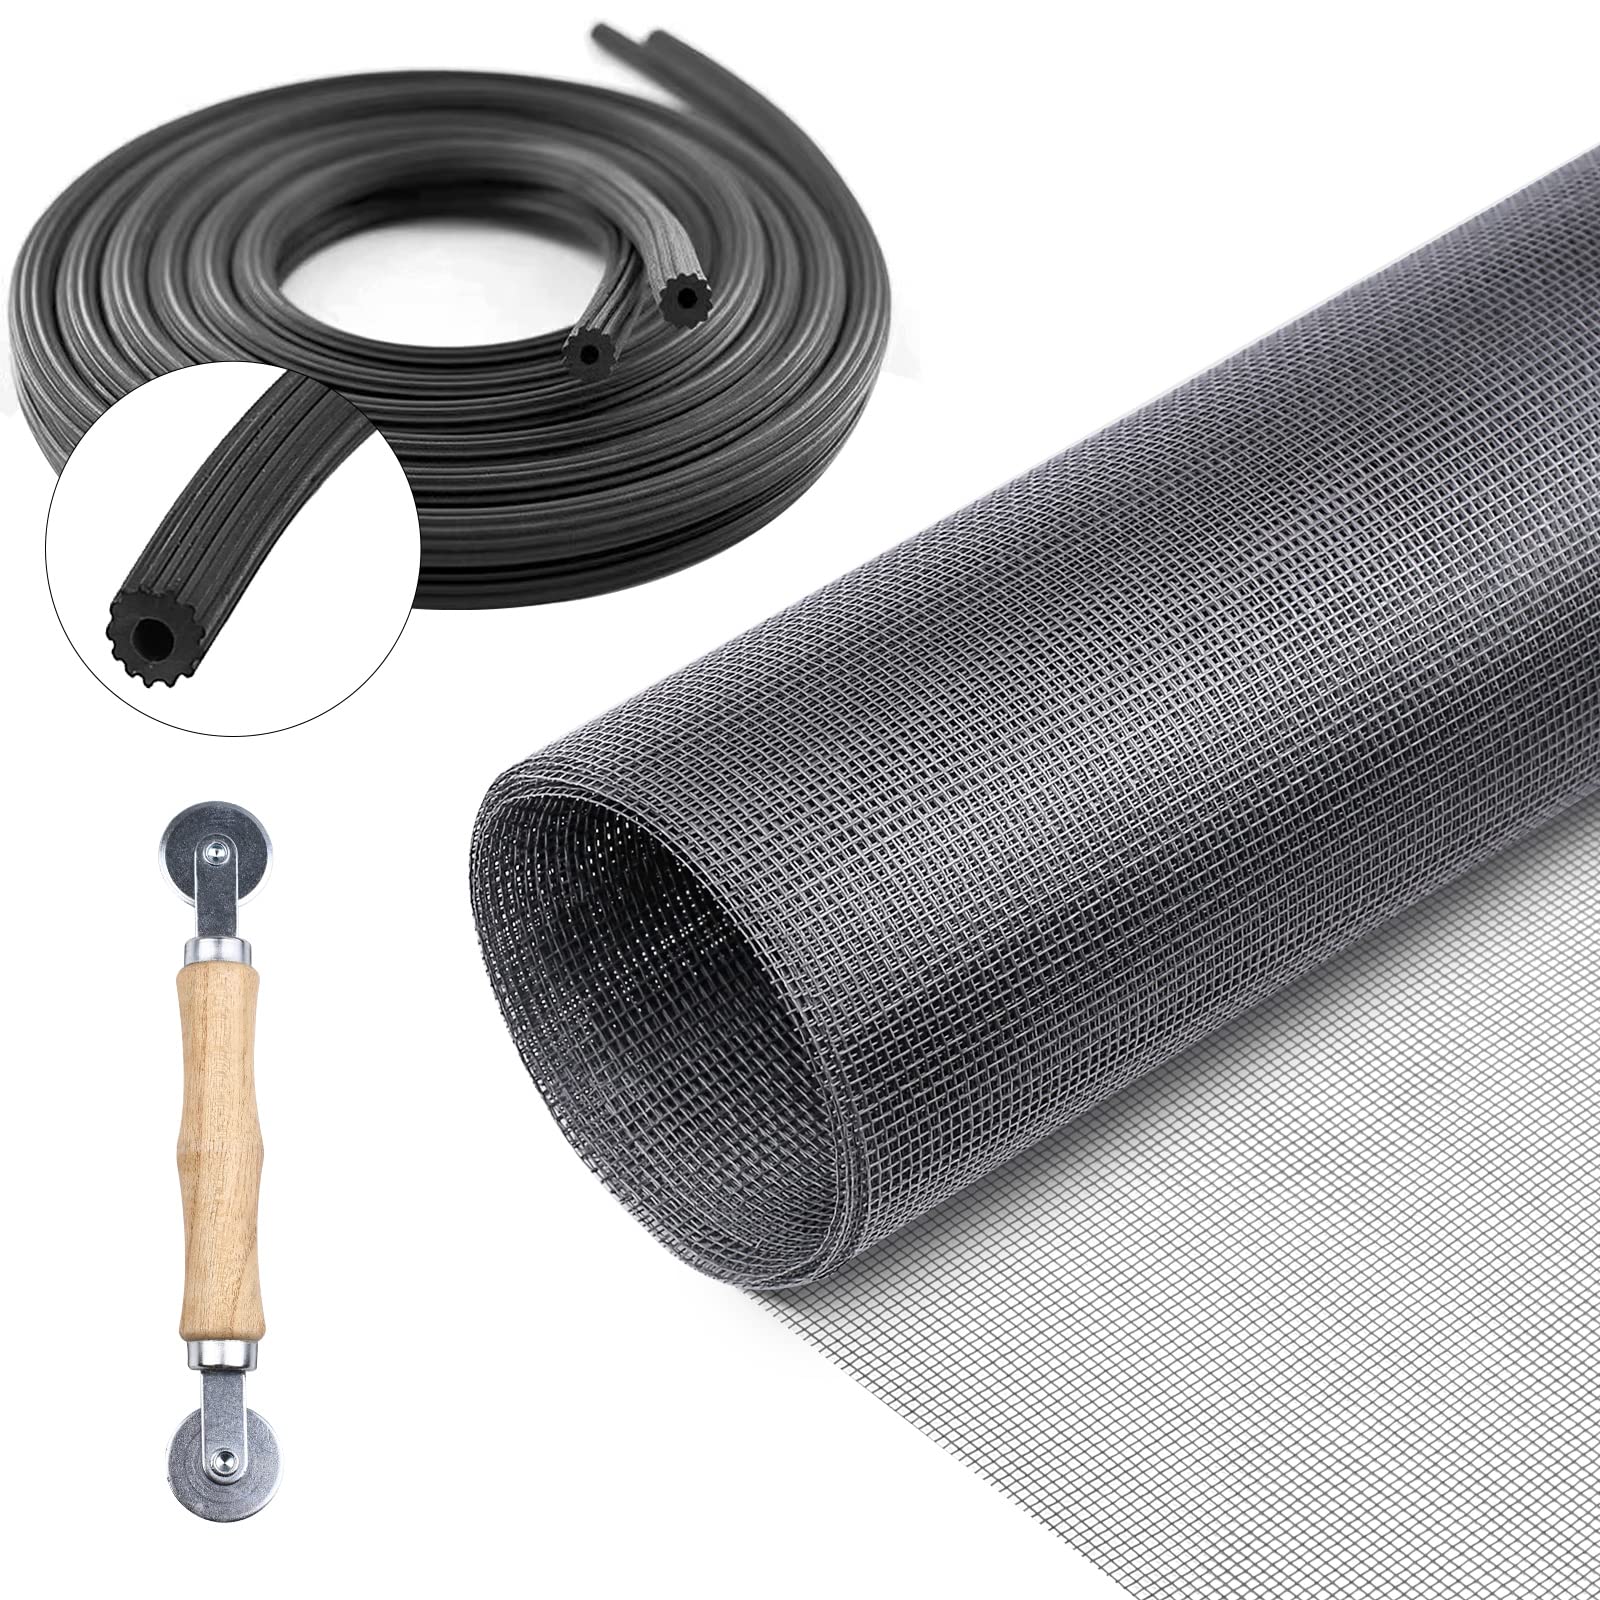
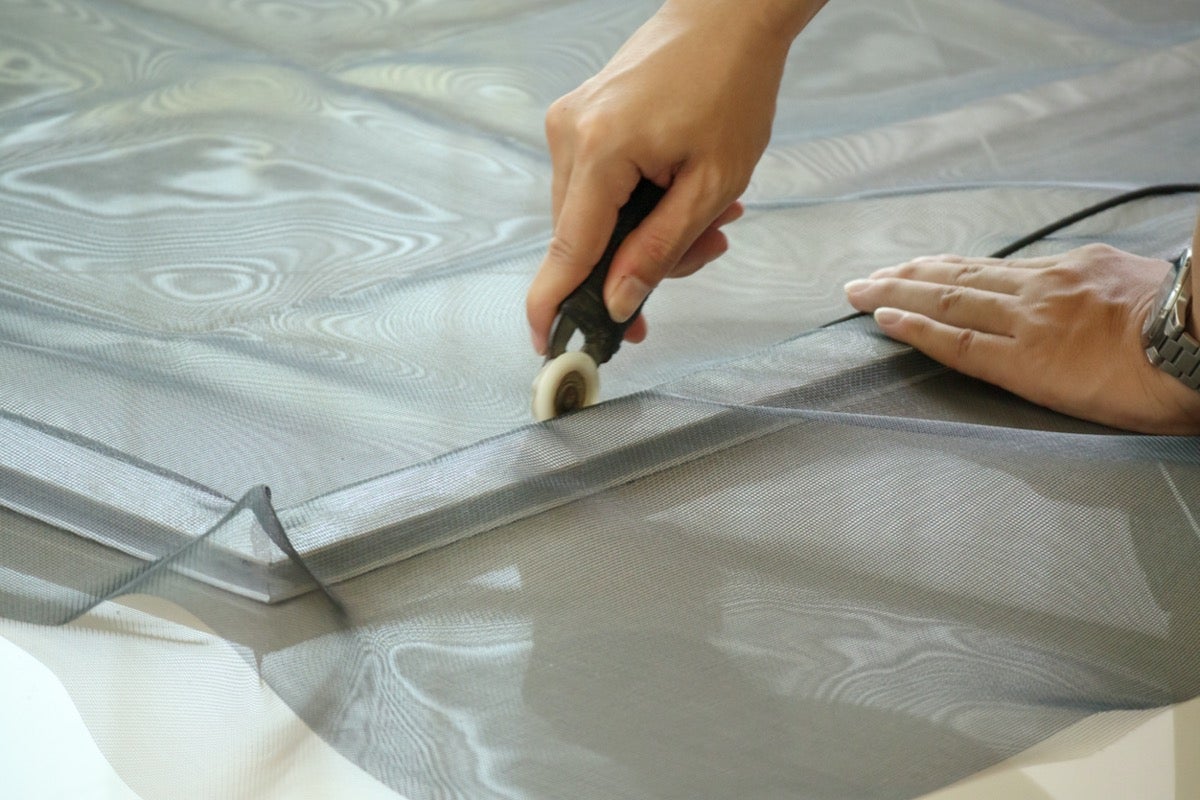
3. Use a screen spline roller to roll the spline back into the channel, securing the screen in place. Apply pressure evenly along the entire length of the spline.
4. If the screen still won’t go back in, check for any obstructions or damage to the frame. Make sure the corners of the screen are properly aligned with the corner parts of the frame.
5. In some cases, you may need to use a screwdriver or spring clip to force the screen into place. Be careful not to apply too much force, as this can damage the screen or frame.
Remember, the secret to success is patience and persistence. Don’t give up, and with a little persuasion, your window screen will be back in place in no time.
Common Issues with Window Screens
If you’re experiencing frustration with your window screens and they won’t go back in, don’t worry – there’s a DIY replacement solution. Here’s what you can do:
1. Start by removing the old screen. Use a putty knife or a similar tool to gently pry the screen out from the bottom of the frame. Be careful not to damage the wood or the frames.
2. Once the old screen is out, measure the dimensions of the opening and cut a new screen to fit. Make sure to leave some extra material on all sides to ensure a proper fit.
3. Place the new screen over the opening, making sure it covers the entire frame. Use a spring clip or pressure clips to secure the screen in place. Start at one corner and work your way around, making sure the screen is taut.
4. Trim off any excess screen material using a sharp utility knife.
Steps to Reinstall a Window Screen
- Remove the screen frame:
- Identify the type of screen frame you have (such as metal or wood).
- Use a screwdriver or a pry tool to carefully remove any screws or clips holding the frame in place.
- Gently pull the frame away from the window.
- Inspect the screen material:
- Check the screen material for any tears, holes, or damage.
- If necessary, replace the screen material with a new one by removing the spline (rubber or vinyl cord) that holds the old material in place.
- Prepare the frame:
- Clean the frame using a mild detergent and water solution.
- Remove any debris or dirt from the frame.

- Allow the frame to dry completely before proceeding.
- Attach the new screen material:
- Place the new screen material over the frame, ensuring it covers the entire opening.
- Secure one corner of the screen material to the frame using a small piece of tape.
- Gradually stretch the screen material across the frame, using a screen rolling tool to press it into the groove of the frame.
- Continue stretching and rolling the screen material, working your way around the frame until it is securely attached.
- Trim the excess screen material:
- Use a utility knife or scissors to carefully trim any excess screen material, leaving a clean edge along the frame.
- Reinstall the screen frame:
- Position the screen frame back into the window opening.
- Ensure the frame is aligned properly and fits snugly.
- Reattach any screws or clips that hold the frame in place.
- Test the window screen:
- Gently push on the screen to check its stability.
- Ensure the screen is securely in place and does not easily come loose.
- Open and close the window to verify that the screen functions properly.
By repairing damaged system files and faulty settings, Fortect can help resolve confusing error messages and ensure that Windows and other programs run smoothly. Additionally, if the issue is related to missing or corrupt DLL files, Fortect can automatically fix the problem.

python

import pyautogui
# Get the current screen resolution
screen_width, screen_height = pyautogui.size()
# Function to move the active window to a specified position
def move_window(x, y):
pyautogui.moveTo(x, y, duration=0.5)
# Example usage: Move the active window to the top-left corner of the screen
move_window(0, 0)
This sample code utilizes the `pyautogui` library to programmatically move the active window on the screen. By specifying the desired X and Y coordinates, you can control the position of the window.
Please note that this code is just a basic example and may not cover all possible scenarios. The specific implementation may vary depending on the operating system and any additional requirements you have.
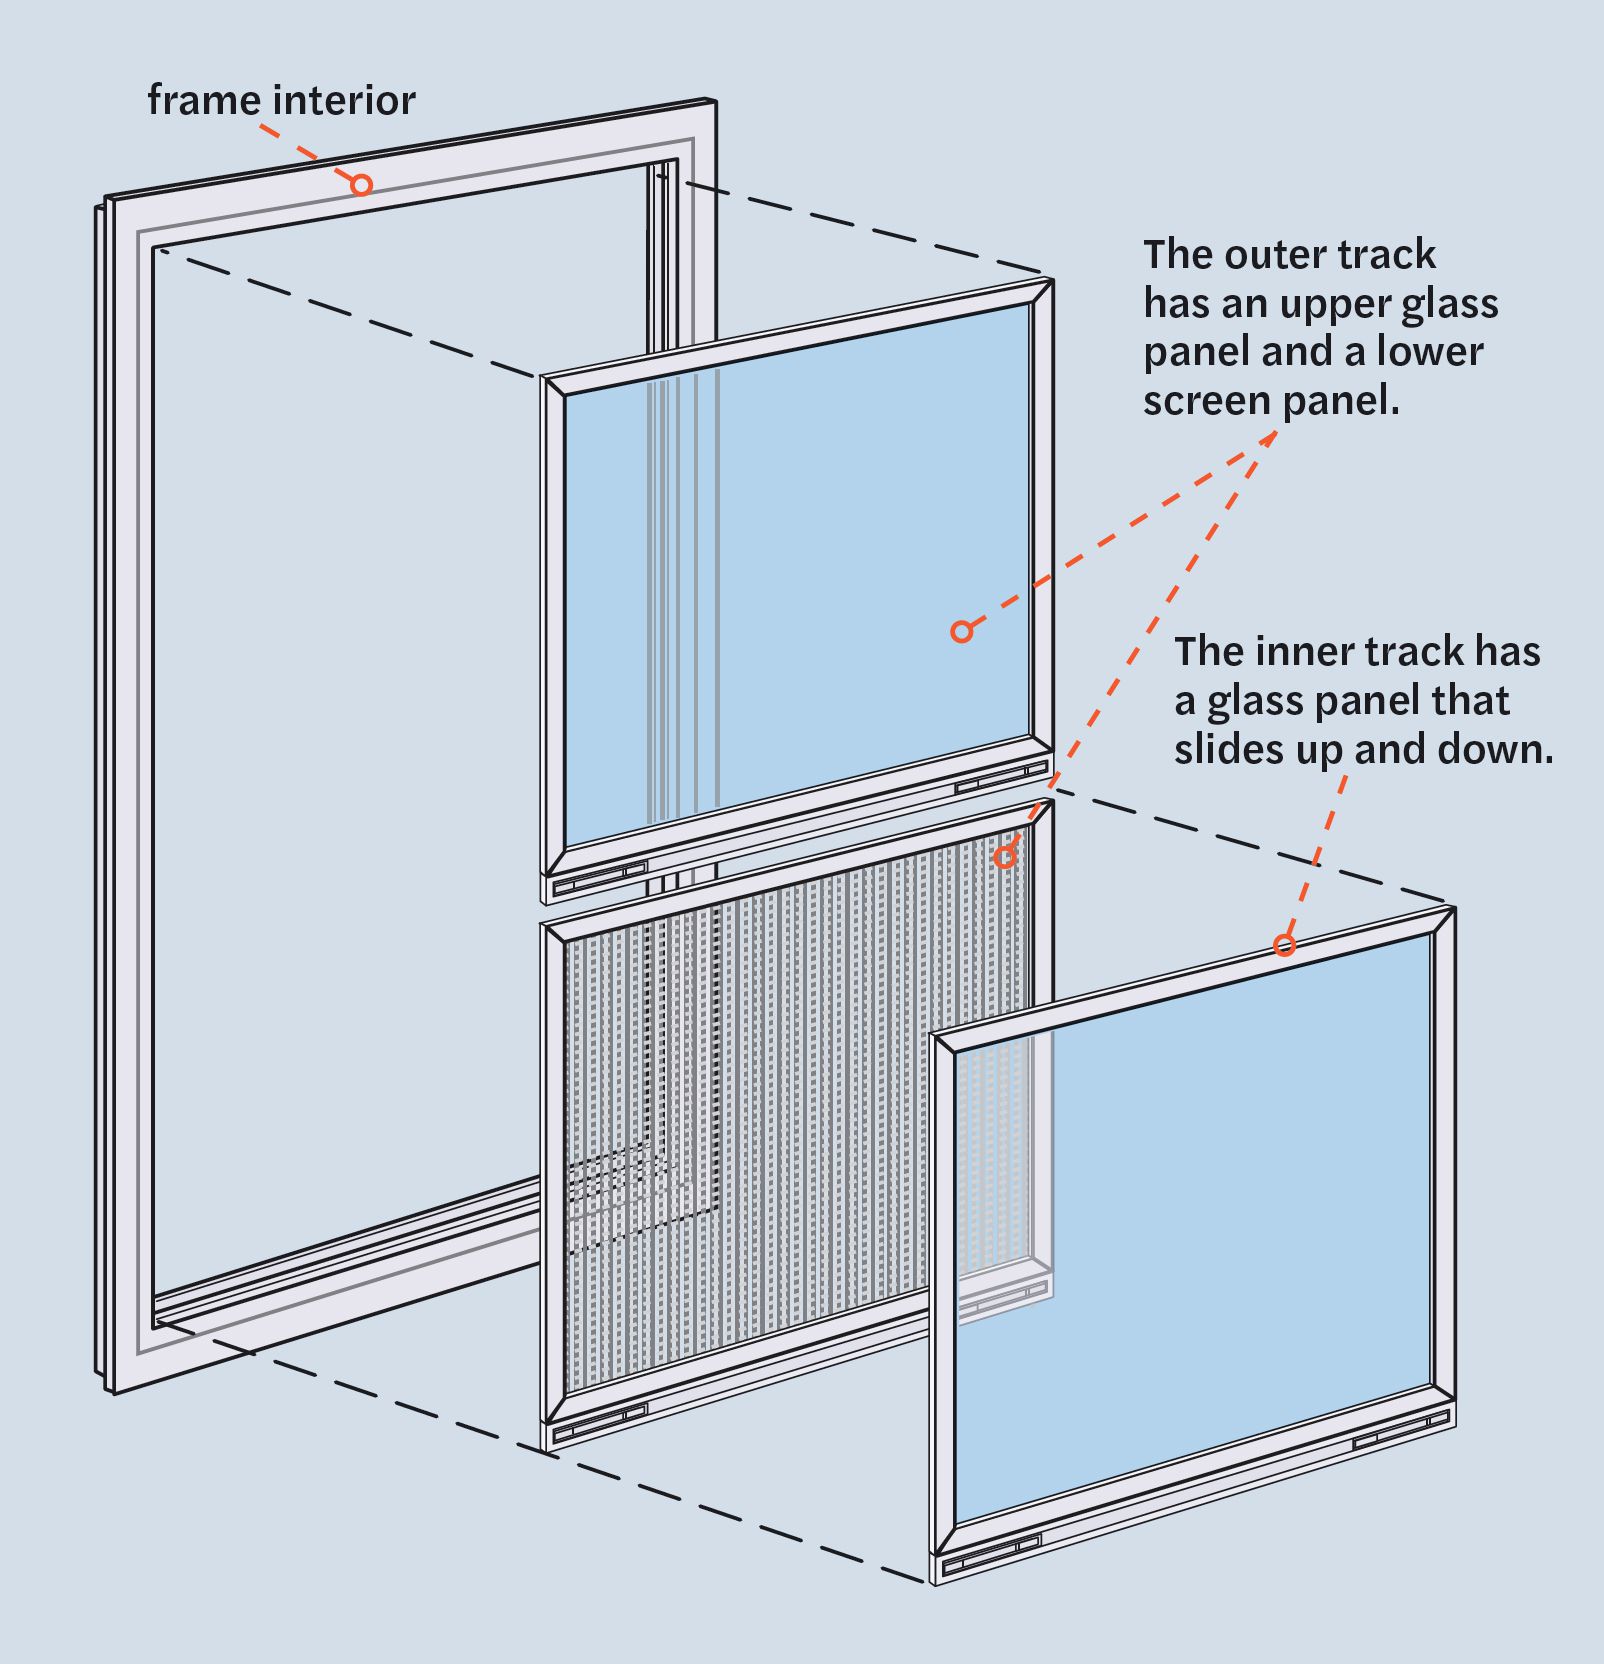
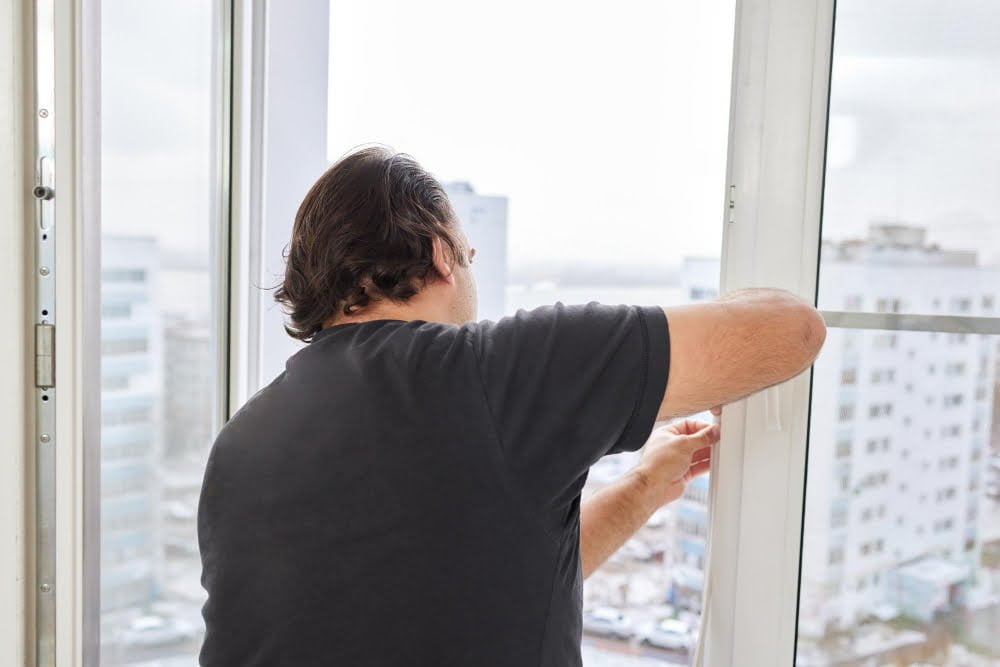
Putting Back a Screen in a Double-Hung Window
If you’re having trouble putting a screen back into a double-hung window, don’t worry – we’ve got you covered.
First, make sure you have the necessary tools handy, such as a screwdriver and a pair of pliers.
Next, carefully examine the window frame and the screen itself for any damage or obstructions. If you notice any issues, fix or remove them before proceeding.
Now, it’s time to reassemble the screen. Start by placing the screen back into the window frame, making sure it fits snugly. If the screen has pressure clips, use your pliers to secure them in place.
If the screen is held in by nails, gently tap them back in using a hammer. Be sure not to apply too much force, as this could damage the screen or the window frame.
Once the screen is securely in place, give it a gentle tug to ensure it’s properly seated.
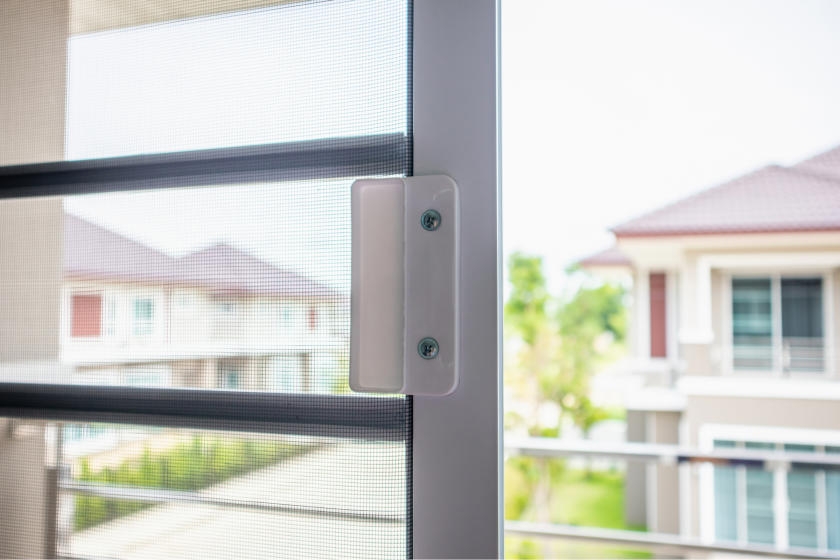
And there you have it! Your window screen is back in place and ready to keep out pesky bugs while letting in fresh air.
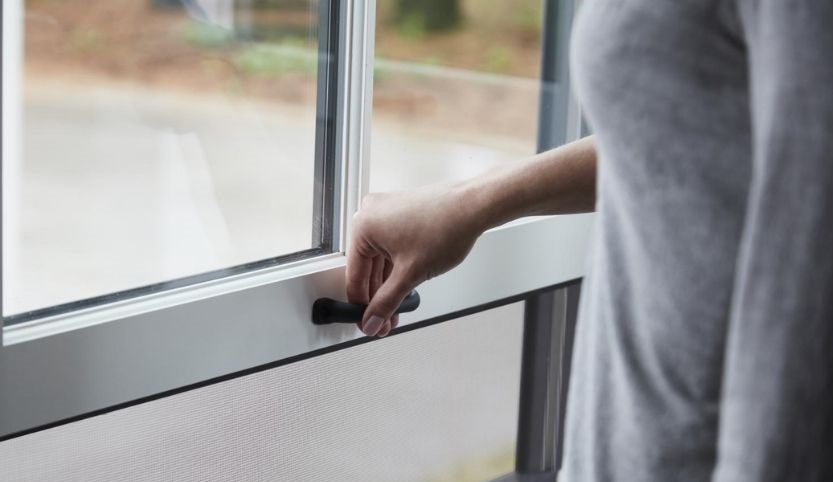
Putting Back a Screen in a Standard Window
If you’re having trouble getting a window screen back into its frame, don’t worry – we’ve got you covered. Follow these simple steps to easily reinsert your screen and restore your window’s functionality.
First, make sure you have the necessary tools on hand. You’ll need a screwdriver and a pair of needle-nose pliers for this task.
Start by examining the window frame. Look for any nails or screws that may be holding the frame together. Remove these using the appropriate tool.
Next, position the screen so that the corner parts fit into the corresponding slots in the frame. Gently press the screen against the frame, making sure it fits securely.
If the screen doesn’t slide in easily, use the needle-nose pliers to adjust the corner parts as needed. Apply gentle pressure until the screen is properly aligned.
Once the screen is in place, double-check that it is securely attached to the frame. Give it a light tug to ensure it doesn’t come loose.
That’s it! You’ve successfully put back your window screen. Enjoy the fresh air while keeping those pesky bugs out.
Safety Tips for Removing and Reinstalling Window Screens
- Inspect the window screen: Before removing the window screen, carefully examine it for any damage or tears. Repair or replace any damaged sections to ensure optimal functionality.
- Gather the necessary tools: Prepare a toolkit containing essential items such as a screwdriver, pliers, a putty knife, and a soft cloth to assist in the removal and reinstallation process.
- Locate the fasteners: Identify the type of fasteners holding the window screen in place. This will vary depending on the window type and design, such as spring or spline clips, tabs, or screws.
- Remove the fasteners: Carefully remove the fasteners one by one, ensuring not to damage the window frame or surrounding surfaces. Use the appropriate tool for each type of fastener.
- Detach the window screen: Gently lift the window screen out of the frame, taking care not to bend or twist it. Place it in a safe and clean area to avoid any further damage.
- Clean the window frame: While the window screen is removed, seize the opportunity to clean the window frame thoroughly. Use a soft cloth and mild detergent, if necessary, to remove dirt, dust, or debris.
- Inspect the frame: Check the window frame for any damage or deterioration. Repair or replace any issues before reinstalling the window screen to ensure a secure fit.
- Position the window screen: Carefully align the window screen with the frame, ensuring that it fits snugly and securely. Avoid forcing the screen if it doesn’t fit properly; adjustments may be necessary.
- Secure the fasteners: Reattach the fasteners to secure the window screen in place. Make sure they are tightened appropriately, but avoid overtightening to prevent damage.
- Test the window screen: After reinstalling, carefully test the window screen by opening and closing the window. Ensure it functions smoothly and remains securely in place.
Window Screen Repair vs Replacement
Window Screen Repair vs Replacement
| Repair | Replacement |
|---|---|
| Less expensive | More expensive |
| Suitable for minor damages | Suitable for severe damages or complete screen replacement |
| Requires basic DIY skills | May require professional installation |
| Can be completed quickly | Takes more time |
| Can extend the lifespan of the screen | Provides a brand new screen |
| May not match the original screen perfectly | Allows for customization and choice of materials |
Please be cautious when attempting to put the window screen back in, as it may not easily fit without forcing it. Download this tool to run a scan