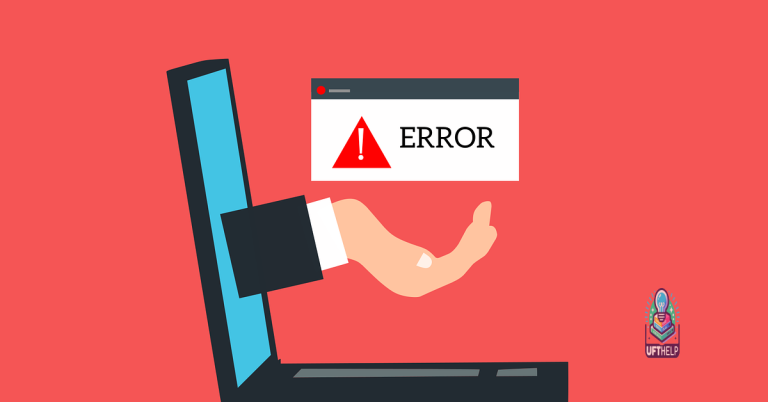
10 Ways to Fix My Laptop Won’t Turn On But Has Power
Are you struggling with a laptop that won’t turn on despite having power? Here are 10 ways to troubleshoot and fix the issue.
Causes and Fixes for Power Issues
Common causes of power issues in laptops include a faulty AC adapter, a dead battery, or a malfunctioning power supply. If your laptop won’t turn on but has power, start by checking the AC adapter and power cord for any damage or loose connections. If everything seems to be in working order, try removing the battery and using only the AC adapter to power on the laptop. If the laptop turns on without the battery, it may be time to replace the battery. Another potential fix is to reset the power supply by unplugging the laptop, removing the battery, and holding down the power button for 30 seconds before reconnecting the battery and AC adapter.
If these fixes don’t work, it may be worth checking the power button and the connections between the power button and the motherboard. Sometimes, a faulty power button or loose connection can prevent the laptop from turning on despite having power. Additionally, issues with the motherboard or BIOS settings can also cause power problems. In these cases, seeking the help of a professional computer repair technician may be necessary to diagnose and fix the issue.
Checking Power Sources and Cords
When troubleshooting a laptop that won’t turn on but has power, start by checking the power source and cords. Ensure that the power cable is securely plugged into both the laptop and the power source. If using a power adapter, check for any damage to the adapter or the cord.
Use a voltage meter to test the power source and the power cable for any issues. This will help determine if the power source is providing the correct voltage and if the power cable is functioning properly. If the power source and cable are both working as they should, then the issue may lie elsewhere in the laptop.
It’s also important to check for any visible damage to the power cable or the laptop’s charging port. Look for any fraying or exposed wires on the power cable, and inspect the charging port for any debris or damage that may be preventing a proper connection.
If everything appears to be in working order with the power source and cords, the problem may be internal to the laptop and may require further troubleshooting or professional assistance.
Assessing Screen Brightness and Display Problems
If the screen brightness is not the issue, try connecting an external monitor to your laptop using an HDMI or USB connection. If the external monitor displays an image, then the problem likely lies with the laptop’s screen or its graphics card.
Check for any visible damage to the laptop screen, such as cracks or dark spots. If the screen appears physically damaged, you may need to seek the help of a computer repair technician for a replacement.
Additionally, try booting the laptop into BIOS to see if the display works in this environment. If it does, the issue may be related to the operating system or computer hardware, which can be further diagnosed with the help of technical support or a professional.
It can also restore the system to its pre-infected state after virus damage and recover vital system files for OS recovery without affecting user data.
Removing External Devices and Drives

To troubleshoot a laptop that won’t turn on but has power, you can start by removing any external devices and drives. Sometimes, these devices can interfere with the booting process and prevent the laptop from turning on.
Start by unplugging all USB devices, including the keyboard and mouse. Then, remove any external hard drives, USB flash drives, or docking stations that may be connected to the laptop.
After removing these external devices, try turning on the laptop again to see if the issue has been resolved. If the laptop still won’t turn on, you can move on to the next troubleshooting step.
Battery Inspection and Maintenance
Check the battery for any signs of damage or corrosion. If there is any, clean it with a soft cloth and rubbing alcohol.
Inspect the battery contacts to ensure they are clean and free from debris. Use a cotton swab and rubbing alcohol to clean the contacts if necessary.
If the battery is removable, try removing it and reseating it in the laptop. Sometimes a poor connection can cause power issues.
Consider testing the battery with a multimeter to ensure it is holding a charge. If not, it may need to be replaced.
If the laptop has been unused for an extended period, the battery may have discharged completely. Try charging it for at least 30 minutes before attempting to turn the laptop on again.
Regularly clean the vents and fans of the laptop to prevent overheating, which can affect the battery’s performance.
Consider calibrating the battery to ensure it is accurately reporting its charge level to the laptop.
If all else fails, it may be time to replace the battery with a new one.
By regularly inspecting and maintaining the battery, you can ensure that it is functioning properly and providing the necessary power for your laptop to turn on.
Power Draining and Reset Procedures
- Remove External Devices
- Disconnect the Power Supply
- Drain the Residual Power
Booting in Safe Mode and Overheating Solutions
To boot your laptop in Safe Mode, start by turning off the laptop completely. Then, turn it back on and press the F8 key repeatedly until the Advanced Boot Options menu appears. Choose Safe Mode and press Enter. Once in Safe Mode, you can troubleshoot any software or driver issues that may be causing the laptop to not turn on properly.
If your laptop is overheating, the first step is to make sure the vents are clear of dust and debris. Use a can of compressed air to gently clean out the vents and fan. You can also try using a laptop cooling pad to help dissipate heat more effectively.
Another solution for overheating is to adjust the power settings on your laptop to reduce the amount of processing power being used, which can help lower the temperature. You can do this by going to the Control Panel and selecting Power Options.