Troubleshooting External Hard Drive Not Responding Windows 7
In the realm of digital storage, external hard drives play a vital role in safeguarding our precious data. However, when faced with the frustrating issue of an unresponsive external hard drive on a Windows 7 system, one must embark on a troubleshooting journey to conquer this technological setback. By diving into the depths of this article, we unveil the secrets to revive your unresponsive companion, ensuring that your data remains safeguarded and accessible.
Steps to Fix the Non-Working External Hard Drive
- Check the Power and Connection
- Ensure that the external hard drive is properly plugged into a power source.
- Verify that the USB cable is securely connected to both the external hard drive and the computer.
- Try connecting the external hard drive to a different USB port on the computer.
- Restart the Computer
- Save any unsaved work and close all open programs.
- Click on the “Start” button and select “Restart” from the menu.
- Wait for the computer to fully restart and then check if the external hard drive is recognized.
- Update the Device Drivers
- Open the Device Manager by pressing Windows key + X and selecting “Device Manager” from the menu.
- Expand the “Disk drives” category and locate the external hard drive.
- Right-click on the external hard drive and select “Update driver.”
- Choose the option to automatically search for updated driver software.
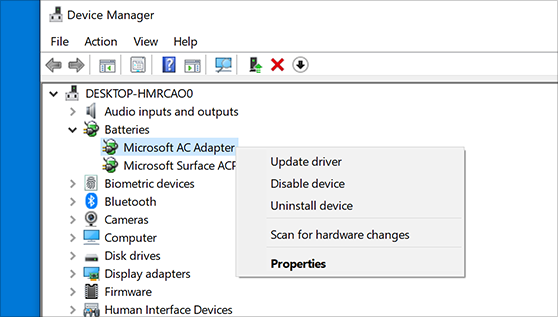
- Follow the prompts to install any available driver updates for the external hard drive.
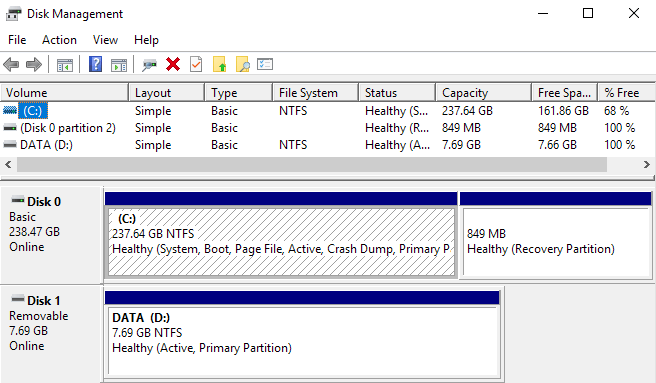
- Run Disk Management
- Press Windows key + R to open the “Run” dialog box.
- Type “diskmgmt.msc” and press Enter to open the Disk Management tool.
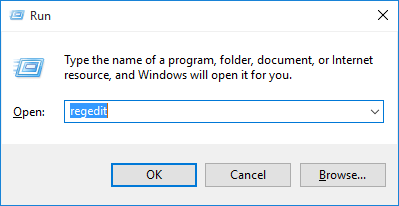
- Look for the external hard drive in the list of drives.
- If the external hard drive appears, right-click on it and select “Change Drive Letter and Paths.”
- Assign a new drive letter to the external hard drive and check if it starts working.
- Run CHKDSK
- Open the Command Prompt by pressing Windows key + X and selecting “Command Prompt” from the menu.
- Type “chkdsk
/f” and press Enter, replacing with the actual drive letter assigned to the external hard drive. 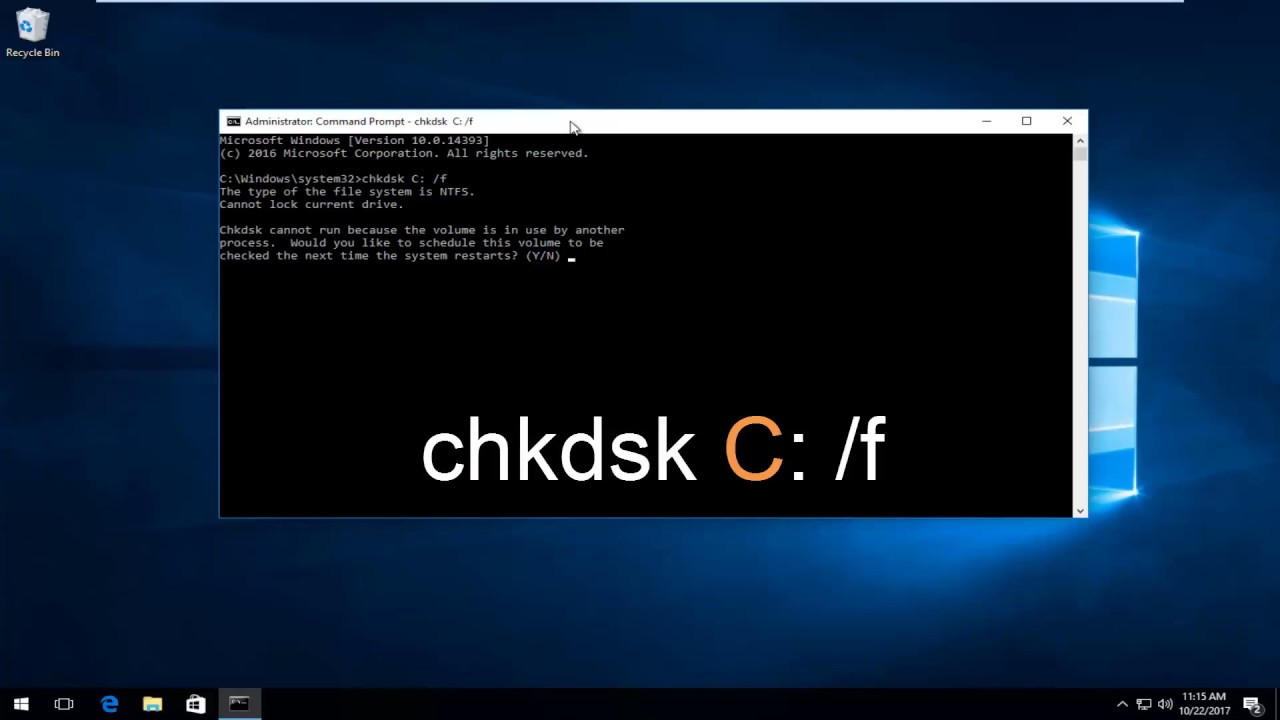
- Wait for CHKDSK to scan and repair any errors on the external hard drive.
- Reformat the External Hard Drive
- Warning: This step will erase all data on the external hard drive. Make sure to backup any important files before proceeding.
- Open the Disk Management tool as mentioned in Step 4.
- Locate the external hard drive in the list of drives.
- Right-click on the external hard drive and select “Format.”
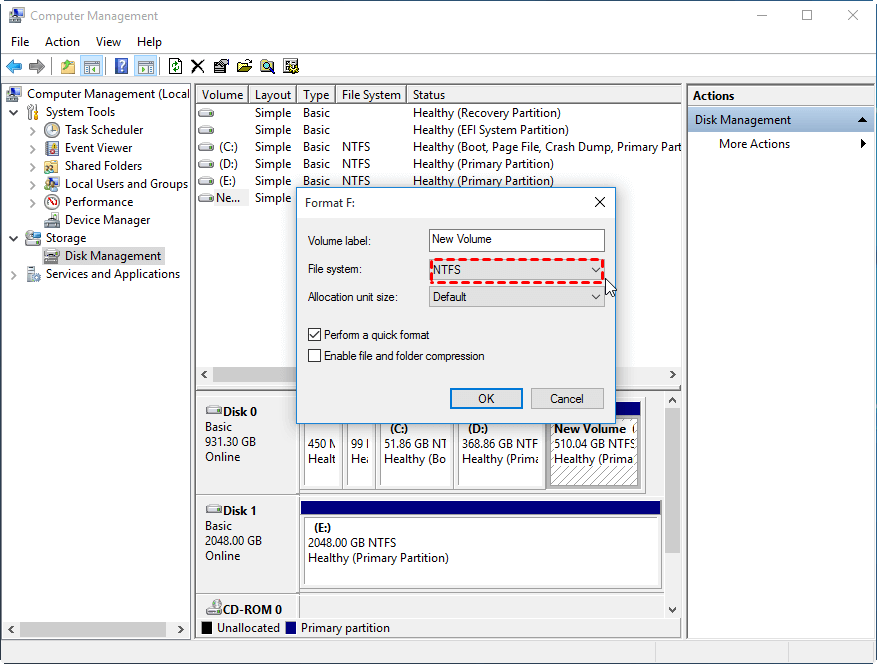
- Choose a file system (e.g., NTFS) and allocation unit size, and then click “OK” to reformat the external hard drive.
Recovering Data from a Non-Working External Drive
If your external hard drive is not responding on Windows 7, there are a few steps you can take to recover your data. First, check the physical connections. Ensure the USB cable is securely connected to both the drive and the USB port on your PC. Try connecting the drive to a different USB port or using a different cable to rule out any issues with the connection.
If the drive still doesn’t respond, open the Device Manager by pressing the Windows key + R, typing “devmgmt.msc”, and pressing Enter. Expand the “Universal Serial Bus controllers” section and look for any yellow exclamation marks indicating driver issues. Right-click on the affected driver and select “Update driver” to fix the problem.
If these steps don’t work, you can try using data recovery software like Recuva to retrieve your files. Just download and install the software, launch it, and follow the on-screen instructions to scan and recover your data. Remember to save the recovered files to a different location to avoid overwriting any lost data.
By following these steps, you should be able to troubleshoot and recover your data from a non-working external hard drive on Windows 7.
Additionally, if the issue is due to missing or corrupt DLL files, Fortect can automatically fix that. However, if the error is solely related to the external hard drive itself, Fortect may not be able to resolve it.

Methods to Repair the External Hard Drive Error
- Make sure the external hard drive is properly connected to the computer.
- Check the USB cable for any damages or loose connections.
- If using a USB hub, try connecting the hard drive directly to the computer.
Method 2: Update the driver
- Open Device Manager by pressing Windows key + X and selecting Device Manager.
- Expand the Disk drives category.
- Right-click on the external hard drive and select Update driver.
- Choose the Search automatically for updated driver software option.
- Follow the on-screen instructions to complete the driver update.
Method 3: Run the Hardware and Devices troubleshooter
- Press Windows key + R to open the Run dialog box.
- Type “control” and press Enter to open the Control Panel.
- Click on Troubleshooting and then select View all on the left panel.
- Click on Hardware and Devices and follow the prompts to run the troubleshooter.
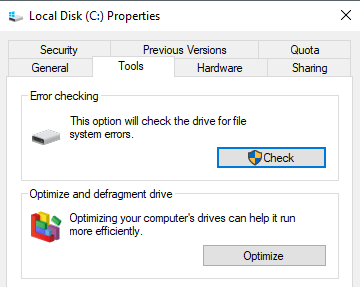
Method 4: Check for drive errors
- Open File Explorer by pressing Windows key + E.
- Right-click on the external hard drive and select Properties.
- Go to the Tools tab and click on Check under the Error checking section.
- Follow the on-screen instructions to scan and fix any errors on the drive.
Method 5: Assign a new drive letter
- Open Disk Management by pressing Windows key + X and selecting Disk Management.
- Right-click on the external hard drive and select Change Drive Letter and Paths.
- Click on Add and assign a new drive letter to the external hard drive.
- Click OK to save the changes.
Additional Steps to Resolve External Hard Drive Issues
1. Check the USB Ports: Ensure that the USB ports on your PC are functioning properly. Try connecting the external hard drive to different ports to rule out any connection problems.
2. Update Drivers: Go to the manufacturer’s website and download the latest drivers for your external hard drive. This can often resolve compatibility issues between the drive and your Windows 7 PC.
3. Run Check Disk: Open the Command Prompt by pressing the Windows key + R, then type “cmd” and press Enter. In the command prompt window, type “chkdsk /f” followed by the drive letter of your external hard drive. This will scan and fix any errors on the drive.
4. Use Disk Management: Press Windows key + X and select “Disk Management.” If your external hard drive appears in the list, but shows as unallocated or with a different partition type, you may need to assign a drive letter or reformat the drive.
5. Disable Ad Blocker: If you have an ad blocker enabled, temporarily disable it and check if the external hard drive shows up. Some ad blockers can interfere with the detection of external devices.
Remember to always safely eject your external hard drive before disconnecting it to avoid data loss.
If you encounter a situation where your external hard drive is not responding on Windows 7, it is advisable to exercise caution and seek appropriate troubleshooting steps to resolve the issue. Download this tool to run a scan