Red Light on MSI Motherboard
Welcome to the illuminating world of the “Red Light on MSI Motherboard” – a captivating exploration into the mysterious signals that emanate from these technological powerhouses. Discover the secrets behind this enigmatic crimson glow as we delve into the inner workings of MSI motherboards and unlock the hidden wonders they hold. Join us on this enlightening journey as we shed light on the red-lit phenomenon that has piqued the curiosity of tech enthusiasts worldwide.
Understanding Red Light Indicators on a Motherboard
Understanding Red Light Indicators on an MSI Motherboard
If you notice a red light on your MSI motherboard, it indicates a potential issue with your system. These red lights are called EZ Debug LEDs and are designed to help you identify the specific hardware component causing the problem.
Each red light corresponds to a different component, such as CPU, RAM, VGA (graphics card), or boot devices. For example, if the red light is on next to the CPU label, it means there might be an issue with the CPU.
To troubleshoot the problem, start by referring to the motherboard’s manual or the manufacturer’s website for specific instructions. Make sure all hardware components are properly connected and seated. Check the RAM settings and ensure the CMOS battery is functioning correctly. If the issue persists, it may require further troubleshooting or professional assistance.
Remember, the EZ Debug LEDs are there to assist you in identifying and resolving hardware issues efficiently.
Troubleshooting Red Light Errors on a Motherboard
If you encounter a red light error on your MSI motherboard, don’t worry. Here’s how you can troubleshoot the issue:
1. Check the EZ Debug LEDs: Locate the set of indicator LEDs on your motherboard and identify the one labeled “VGA” or “DRAM.” This will help pinpoint the problem area.
2. Inspect hardware connections: Make sure all hardware components, such as the graphics card and RAM, are securely seated in their respective slots.
3. Clear CMOS: Reset the CMOS settings by removing the CMOS battery for a few seconds, then reinsert it.
4. Verify boot devices: Ensure that your hard drive or SSD with the operating system is properly connected and recognized by the system.
5. Update BIOS and drivers: Visit the MSI website to download the latest BIOS and driver updates for your motherboard model.
If the red light error persists after these steps, refer to the motherboard manual or contact MSI support for further assistance. Remember to consult the specific troubleshooting section for your motherboard model for more detailed instructions.
It can also address issues like damaged DLL files and miscommunication between hardware and the operating system, which are common causes of system errors. Additionally, Fortect can compare the current operating system with a healthy version and restore vital system files for OS recovery.
Signs of a Dying Motherboard and How to Identify Them
If you notice a red light on your MSI motherboard, it could be a sign of hardware issues. These LED indicators, such as the EZ Debug LEDs, can help you identify the problem and take the necessary steps to address it.
First, make sure you understand the specific LED labels on your motherboard. Different manufacturers may use different labels, but common ones include CPU, RAM, VGA, and Boot. These LEDs indicate which component is causing the issue during the initialization phase or self-test process.
To troubleshoot the problem, start by checking the connections and reseating components like RAM and graphics cards. Ensure that the power supply is working properly. If the red light persists, try booting with minimal hardware and gradually add components back until you find the culprit.
Remember, the LED indicators provide valuable information about the health of your motherboard. By paying attention to these signs and taking appropriate action, you can prevent further damage and ensure the effectiveness of your computer.
Common Causes of Red Light Errors on a Motherboard
- Overheating
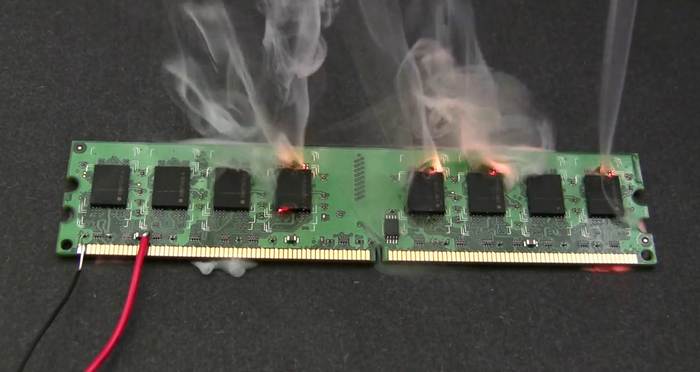
- RAM Issues
- Power Supply Problems
- Graphics Card Troubles
Repair Steps for Overheating:
- Check the CPU cooling system
- Clean the fans and heat sinks
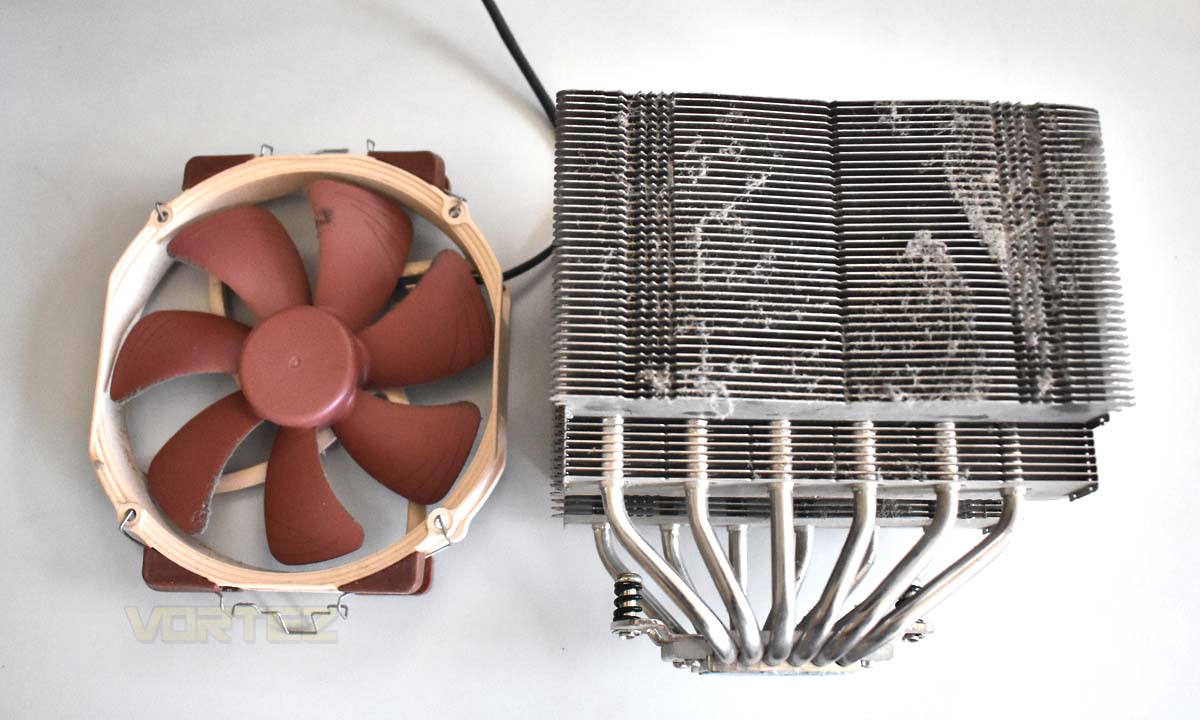
- Reapply thermal paste
Repair Steps for RAM Issues:
- Reseat the RAM modules
- Test the RAM modules individually
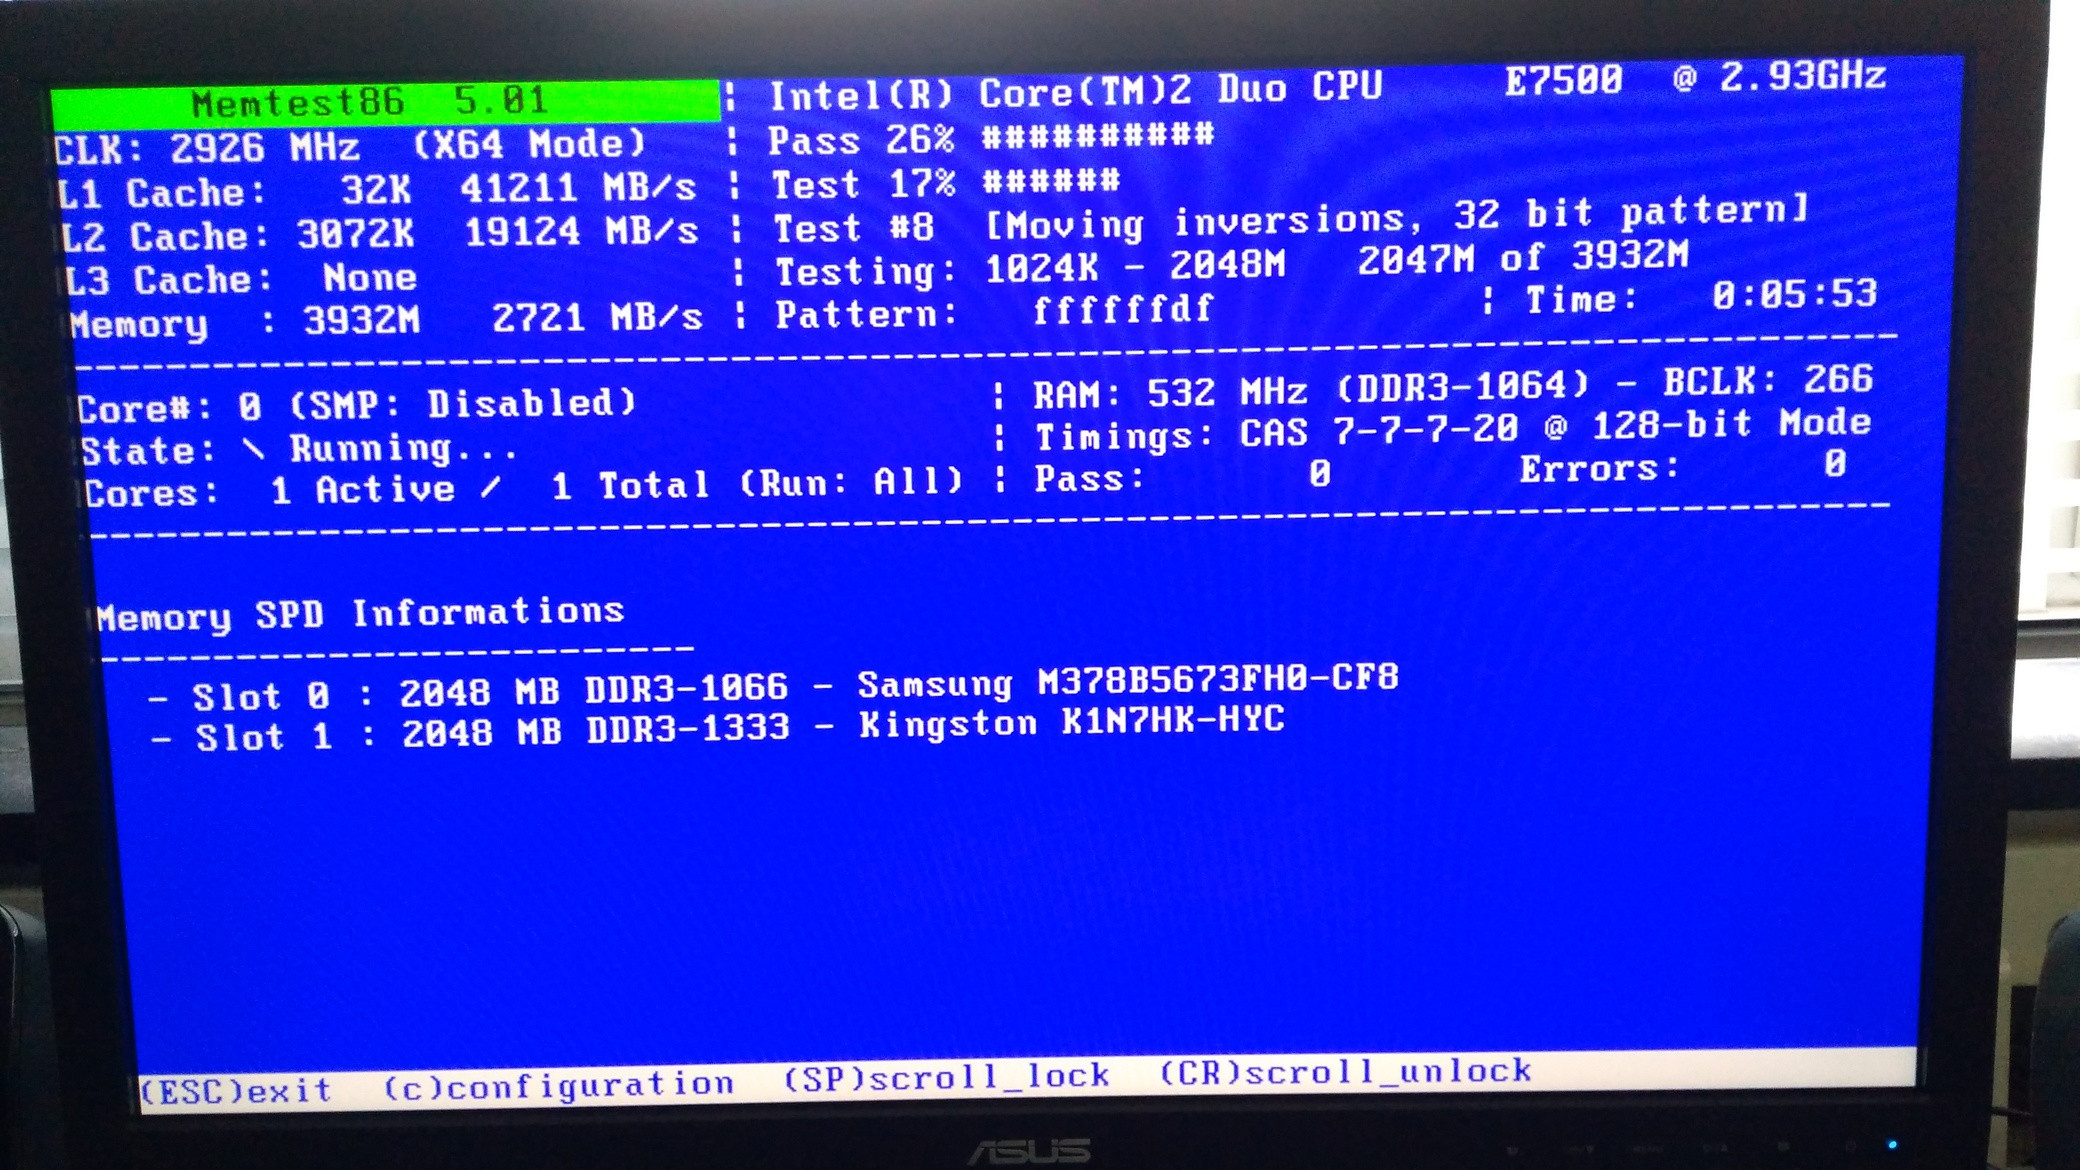
- Replace faulty RAM modules
Repair Steps for Power Supply Problems:
- Check the power connections
- Test the power supply unit
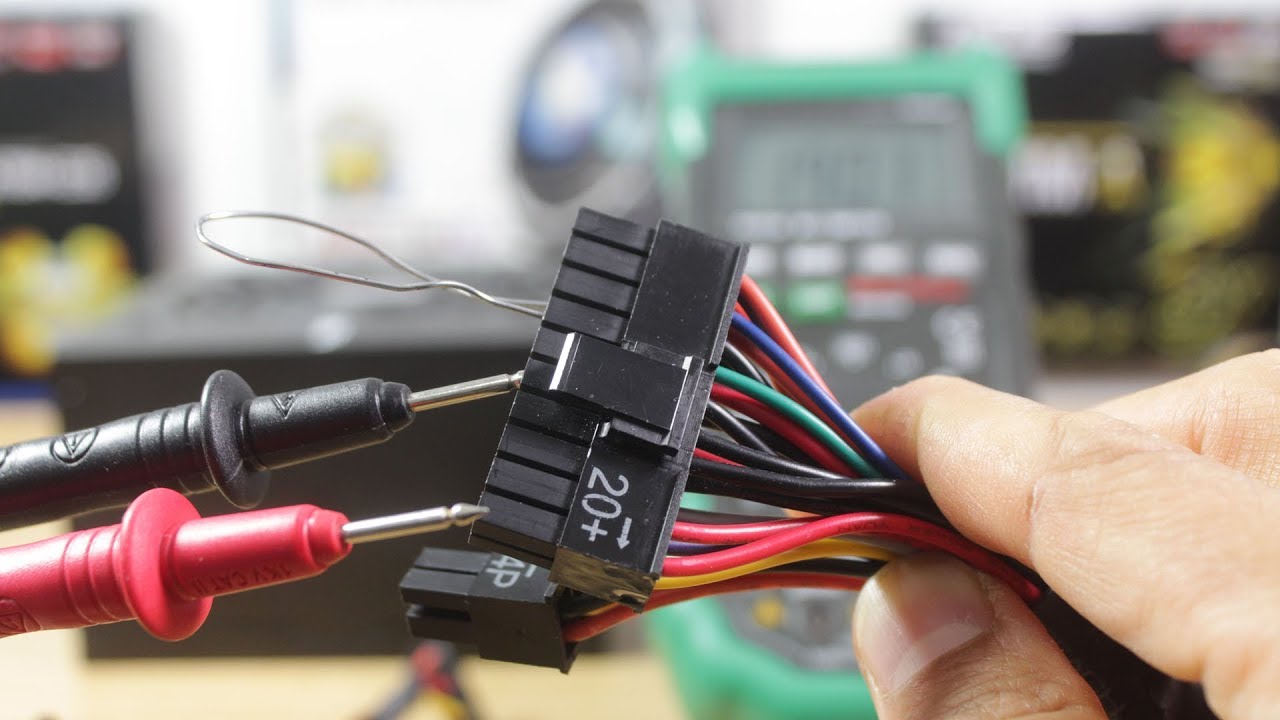
- Replace the power supply unit if necessary
Repair Steps for Graphics Card Troubles:
- Reseat the graphics card
- Check the graphics card drivers
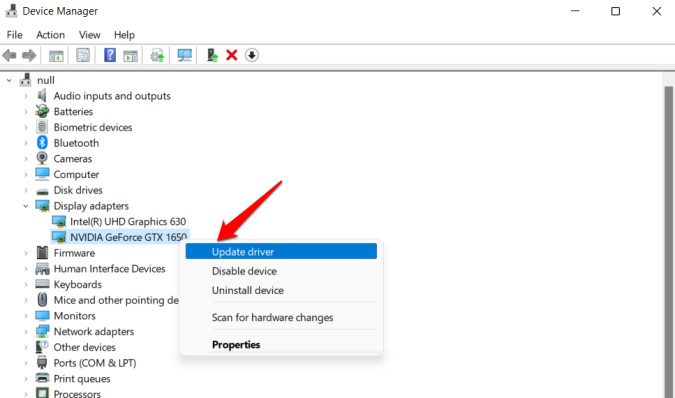
- Test with a different graphics card
Essential Steps to Fix Red Light Issues on a Motherboard
To fix red light issues on an MSI motherboard, follow these essential steps:
1. Identify the specific LED that is lit up. The MSI EZ Debug LEDs are indicators that can help pinpoint the issue.
2. Start by checking the RAM. Remove and reseat the memory modules, ensuring they are properly inserted. If the DRAM LED is lit, try using a single RAM stick or testing different slots.
3. Verify the graphics card is properly installed. If the VGA LED is lit, make sure the card is securely seated in the PCIe slot.
4. Ensure all power connections are secure, including the 24-pin ATX power connector and the 8-pin CPU power connector.
5. Check for any loose or faulty connections, such as SATA cables or M.2 drives.
6. Update the motherboard’s BIOS to the latest version, as it can resolve compatibility issues and provide better stability.
7. If the issue persists, consult the motherboard’s manual or contact MSI support for further assistance.
Remember to consult reliable sources like the MSI website or forums for more detailed instructions and troubleshooting tips.
Ensuring Proper Connection and Functionality of Motherboard Components
Red Light on MSI Motherboard
Ensuring Proper Connection and Functionality of Motherboard Components
| Component | Checklist |
|---|---|
| CPU | 1. Ensure that the CPU is properly seated in the socket. 2. Check if the CPU power connector is securely connected. 3. Verify that the CPU cooler is correctly installed and functioning properly. |
| RAM | 1. Confirm that the RAM sticks are firmly inserted into the memory slots. 2. Ensure that the RAM sticks are compatible with the motherboard. 3. Try reseating the RAM sticks to establish a proper connection. |
| Power Supply | 1. Check if the power supply cables are correctly connected to the motherboard. 2. Verify that the power supply unit is providing sufficient power. 3. Test with a different power supply unit if possible to rule out a faulty PSU. |
| Graphics Card | 1. Make sure that the graphics card is securely inserted into the PCIe slot. 2. Check if the power connectors for the graphics card are properly connected. 3. Test with a different graphics card to determine if the issue lies with the GPU. |
| Storage Drives | 1. Ensure that all storage drives are correctly connected to the motherboard. 2. Verify that the SATA or M.2 connectors are properly seated. 3. Test the drives on a different system to check for any faults. |
| BIOS | 1. Check if the motherboard BIOS is up to date. 2. Reset the BIOS settings to default and see if the issue persists. 3. Consult the motherboard manual for any specific troubleshooting steps. |
| Additional Peripherals | 1. Disconnect any additional peripherals and test if the issue still occurs. 2. Ensure that all peripheral devices are connected properly. 3. Test the peripherals on another system to rule out any device-related issues. |
By following this checklist and ensuring proper connection and functionality of the motherboard components, you can troubleshoot the red light issue on your MSI motherboard effectively.
It is important to exercise caution when dealing with red light issues on an MSI motherboard, as it could potentially indicate a hardware malfunction or a minor connectivity problem. Download this tool to run a scan


