Fix Slow Transfer Rate on WD External Hard Drive
In today’s fast-paced world, slow transfer rates can be frustrating, especially when it comes to backing up important data. If you’re experiencing slow transfer rates on your WD external hard drive, don’t worry – there are solutions that can help.
Understanding Slow Transfer Rates on WD Hard Disks
If you’re experiencing slow transfer rates on your WD external hard drive, there are a few things you can do to fix the problem. First, make sure your hard drive is connected to a USB 3.0 port and cable for optimal speed. If you’re still experiencing slow transfer rates, try updating your driver or checking for file system errors. Another common culprit is insufficient power supply, so make sure your hard drive is receiving enough power.
If none of these solutions work, there may be a problem with your hard drive. Contact WD Support or check their Knowledge Base for further assistance. It’s also important to note that transferring large files, running other programs, or having a full hard drive can all slow down the transfer process. To avoid these risks, regularly backup your files and keep your hard drive space free. With these tips, you’ll be able to improve your transfer speed and keep your data safe.
Risks of Slow Transfer Rates on External Hard Drives
Slow transfer rates on external hard drives can pose serious risks for users. One of the primary culprits of this problem is outdated drivers, which can affect the speed rate of the transfer process. Another reason could be file system errors or insufficient power supply. To fix slow transfer rate on WD external hard drive, users can try a number of solutions, including updating drivers, checking for file system errors, and ensuring proper power supply. Additionally, it is important to make sure that the cable being used is in good condition and that the space on the hard drive is sufficient. For WD My Passport 1TB users, downloading the latest software and firmware updates from the WD Support Knowledge Base can also help. By taking these steps, users can mitigate the risk of data loss and ensure that their external drive functions optimally.
It can also identify and repair causes of freezing programs, such as damaged registry or missing files. While it doesn’t specifically claim to fix the slow transfer rate problem, Fortect‘s ability to address these related issues may help improve overall system performance.

Solutions to WD Hard Disk Slow Transfer Rates: 15 Tips
- Check hardware connections:
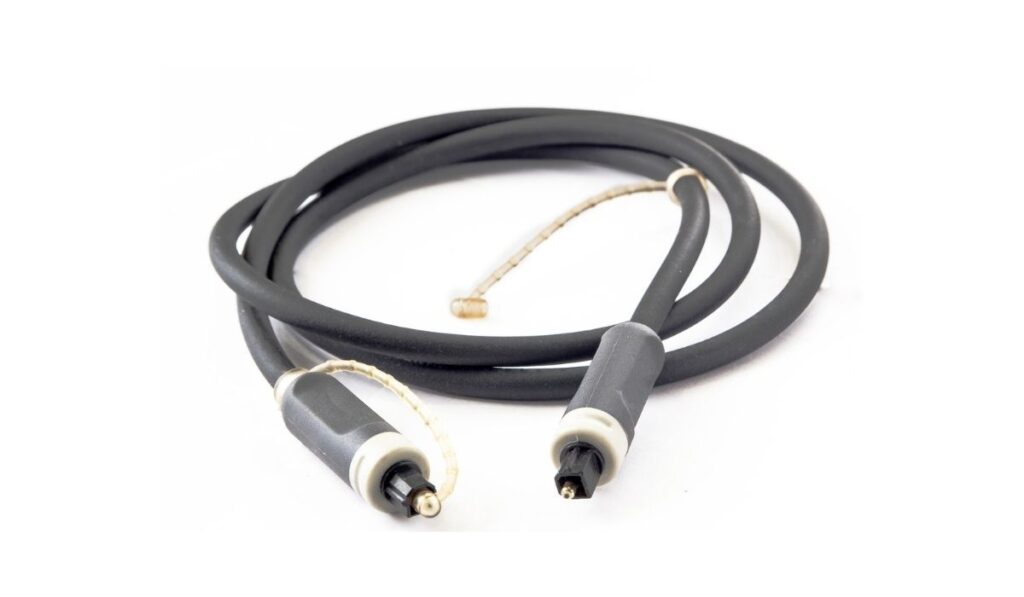
- Ensure the cable connections are secure and not damaged.
- Try using a different cable to rule out cable issues.
- Plug the drive directly into the computer rather than using a hub.
- Update firmware:
- Visit the WD website and download the latest firmware for your specific drive model.
- Follow the instructions provided by WD to update the firmware.
- Disable antivirus software temporarily:
- Open the antivirus program and disable it temporarily.
- Test the transfer rate to see if it improves.
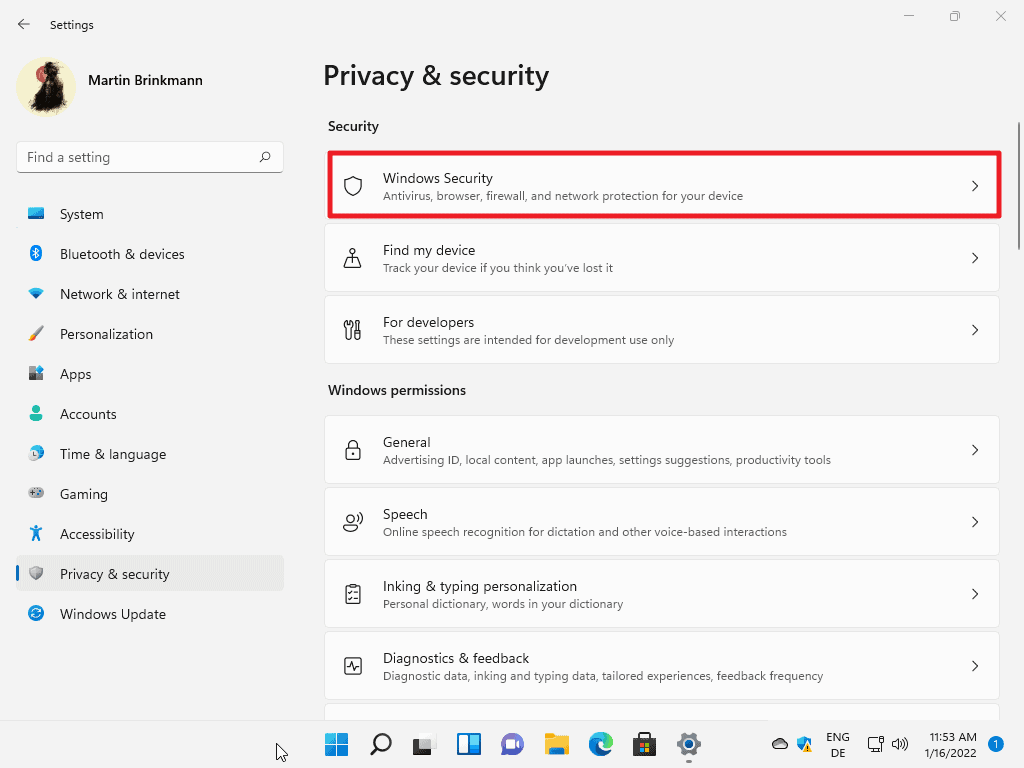
- Remember to re-enable the antivirus software after the test.
- Run a virus scan:
- Perform a full virus scan using your preferred antivirus software.
- Remove any detected threats.
- Defragment the hard drive:
- Open the Disk Defragmenter tool.
- Select the WD external hard drive and click “Optimize”.
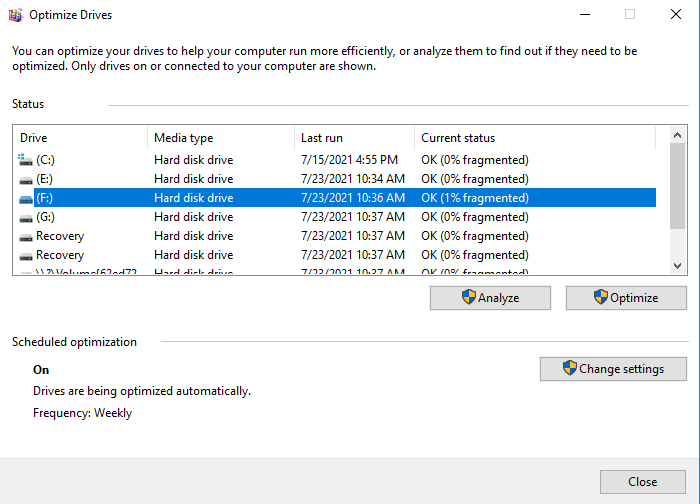
- Wait for the process to complete.
- Enable write caching:
- Open “Device Manager”.
- Find the WD external hard drive, right-click it, and select “Properties”.
- Click the “Policies” tab and select “Better performance”.
- Check the box next to “Enable write caching on the device”.
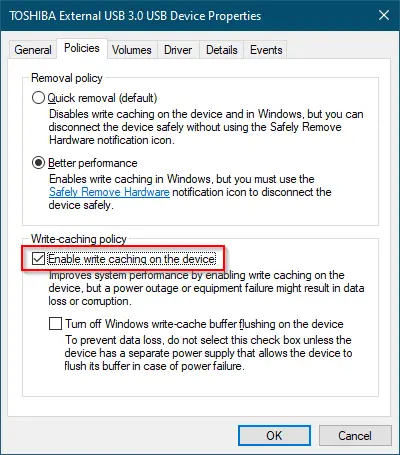
- Click “OK”.
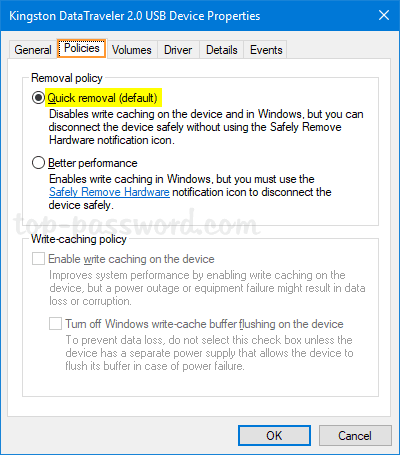
- Disable write caching:
- Open “Device Manager”.
- Find the WD external hard drive, right-click it, and select “Properties”.
- Click the “Policies” tab and select “Quick removal”.
- Click “OK”.
- Disable indexing:
- Open “File Explorer”.
- Right-click the WD external hard drive and select “Properties”.
- Uncheck the box next to “Allow files on this drive to have contents indexed”.
- Click “Apply” and “OK”.
- Disable Remote Differential Compression (RDC):
- Open “Control Panel”.
- Click “Programs” and then “Turn Windows features on or off”.
- Find “Remote Differential Compression” and uncheck the box next to it.
- Click “OK”.
- Disable Windows Search:
- Open “Control Panel”.
- Click “Administrative Tools” and then “Services”.
- Find “Windows Search” and right-click it.
- Select “Properties” and change the “Startup type” to “Disabled”.
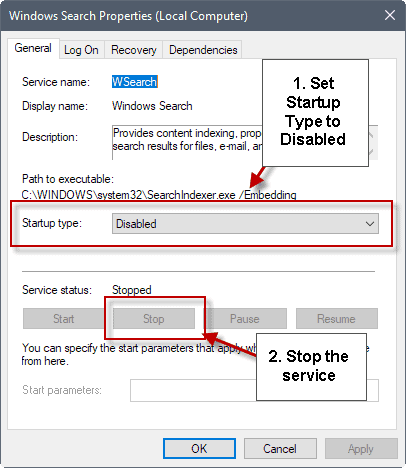
- Click “OK”.
- Disable Power Saving:
- Open “Control Panel”.
- Click “Power Options”.
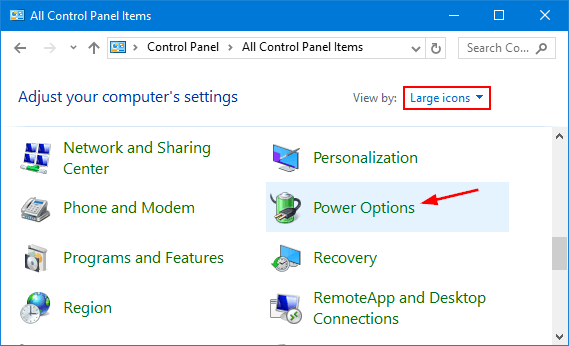
- Click “Change plan settings” next to your selected power plan.
- Set “Turn off hard disk after” to “Never”.
- Click “Save changes”.
- Change transfer mode:
- Open “Device Manager”.
- Find the WD external hard drive, right-click it, and select “Properties”.
- Click the “Driver” tab and select “Update Driver”.
- Choose “Browse my computer for driver software”.
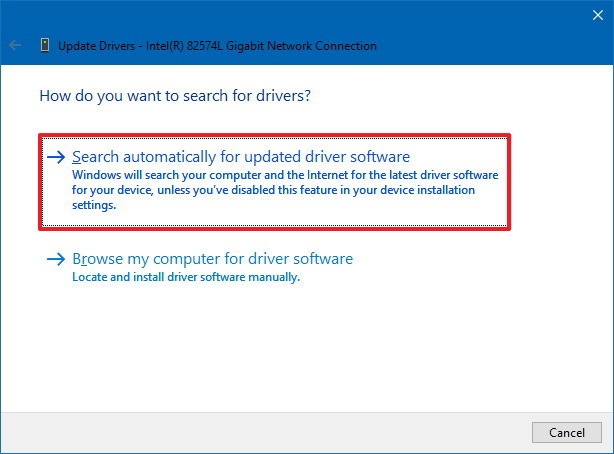
- Select “Let me pick from a list of available drivers on my computer”.
- Select “Standard SATA AHCI Controller” and click “Next”.
- Wait for the driver to install and then restart the computer.
- Disable USB selective suspend:
- Open “Control Panel”.
- Click “Power Options”.
- Click “Change plan settings” next to your selected power plan.
- Click “Change advanced power settings”.
- Expand “USB settings” and then “USB selective suspend setting”.
- Change both “On battery” and “Plugged in” to “Disabled”.

- Click “Apply” and “OK”.
- Check for bad sectors:
- Open “Command Prompt” as an administrator.
- Type “chkdsk x: /f /r /x” (replace “x” with the drive letter of your WD external hard drive).
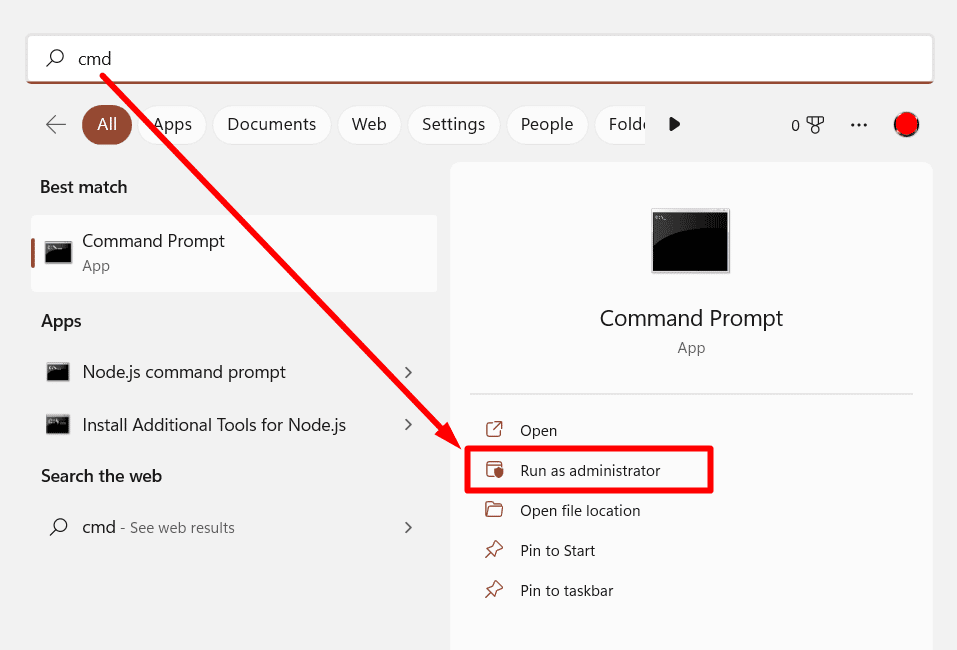
- Press “Enter” and wait for the process to complete.
- Reformat the external hard drive:
- Back up any important data on the WD external hard drive.
- Open “Disk Management”.
- Right-click the WD external hard drive and select “Format”.
- Choose the desired file system and allocation unit size.
- Click “OK” to start the formatting process.
Preventing Data Corruption and Inaccessibility on Slow Hard Drives
Preventing data corruption and inaccessibility on slow hard drives is critical for hard drive users. One of the culprits of slow hard drive transfer rate is a faulty cable, so make sure to check your cable for any issues. Another reason for slow transfer speed is file system errors, which can be solved by running a disk check. Additionally, ensure that your power supply is sufficient, especially when using a laptop. Finally, make sure your WD external hard drive is formatted to the correct file system. You can find solutions to these problems on the WD Support Page or Knowledge Base. Always back up your files to avoid any risks of data loss. By following these tips, hard drive users can avoid a slow transfer rate and prevent data corruption and inaccessibility on their external hard drives.
FAQ: Why Is My External Hard Drive Transferring So Slow?
- Check if the hard drive is connected properly:
- Check the cable connection between the computer and the external hard drive.
- Try another USB port on the computer.
- Try a different cable to connect the external hard drive.
- Check disk errors:
- Open File Explorer and right-click on the external hard drive.
- Select Properties and click on the Tools tab.
- Click on Check under the Error checking section.
- Wait for the process to complete and then try transferring files again.
- Disable any third-party antivirus software:
- Open the antivirus software.
- Disable the real-time scanning feature temporarily.
- Try transferring files again.
- Close any unnecessary programs:
- Open Task Manager by pressing Ctrl+Shift+Esc.
- Click on the Processes tab.
- End any processes that are not necessary.
- Try transferring files again.
- Defragment the external hard drive:
- Open File Explorer and right-click on the external hard drive.
- Select Properties and click on the Tools tab.
- Click on Optimize under the Optimize and defragment drive section.
- Wait for the process to complete and then try transferring files again.
How to Fix Slow External Hard Drives: 7 Solutions
| Solution | Description |
|---|---|
| 1. Check USB Connection | Ensure that the USB cable is connected properly and try using a different cable or port. |
| 2. Scan for Malware | Run a malware scan on your computer to ensure that there are no viruses or malware affecting the transfer rate. |
| 3. Defragment the Drive | Defragment the external hard drive to optimize its performance and improve transfer rate. |
| 4. Check Power Management Settings | Disable power management settings that may be causing the external hard drive to slow down. |
| 5. Update Drivers | Check for and update any outdated drivers for the external hard drive. |
| 6. Format the Drive | Format the external hard drive to remove any corrupt files or errors that may be slowing it down. |
| 7. Replace the Drive | If none of the above solutions work, it may be time to replace the external hard drive. |
It is important to exercise caution when dealing with the slow transfer rate problem on WD hard disks, as it may affect the efficiency of data transfer. Download this tool to run a scan