Please Insert External Storage Media and Press OK
Welcome to the fascinating world of external storage media and the simple yet essential act of pressing OK. In this article, we will explore the significance of inserting external storage devices and the power behind that seemingly unassuming button. Join us on this journey to uncover the wonders that lie within the realm of external storage and the magic that unfolds when we press OK.
Resolving Errors and Issues Automatically
If you are encountering the “Please Insert External Storage Media and Press OK” error message on your Windows 10 computer, there are a few steps you can take to resolve this issue automatically.
1. Check the physical connection: Make sure the USB storage device or external hard drive is properly connected to your PC’s USB port. Try using a different USB port or cable if necessary.
2. Scan for viruses: Run a thorough scan of your system using an updated antivirus software to check for any malware that could be causing the error.
3. Update drivers: Ensure that your USB drivers are up to date. You can do this by going to the Device Manager, locating the USB controllers, and selecting “Update driver.”
4. Check available space: Ensure that there is enough space on your external storage media for the files you want to copy or install.
5. Restart in Safe Mode: Restart your computer and boot into Safe Mode. This can help isolate and fix any software conflicts that may be causing the error.
By following these steps, you should be able to resolve the “Please Insert External Storage Media and Press OK” error and continue with your desired process.
Additionally, if the error is related to missing or corrupt DLL files, Fortect can automatically fix the issue. In severe cases, such as the Blue Screen of Death, Fortect can repair the underlying causes, including incompatible DLLs, drivers, and Windows bugs, and identify malfunctioning hardware that may need replacement. For OS recovery, Fortect can compare the current operating system with a healthy version and restore any vital system files required for running and restarting Windows without affecting user data.

Reinstallation and Restoration Options
- Recovery options – Explore different methods to recover your data and restore your system
- System restore – Roll back your system to a previous state to undo recent changes
- Factory reset – Return your device to its original factory settings
- Backup and restore – Safeguard your important files and restore them when needed
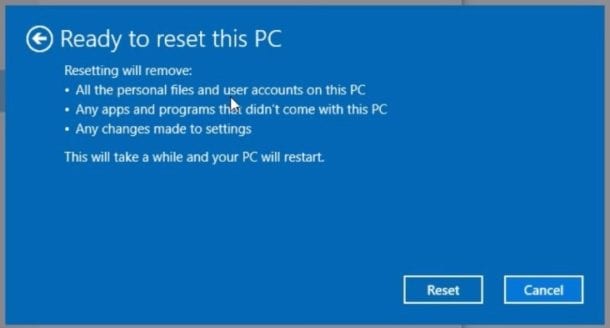
- Reinstall operating system – Install a fresh copy of the operating system to resolve software issues
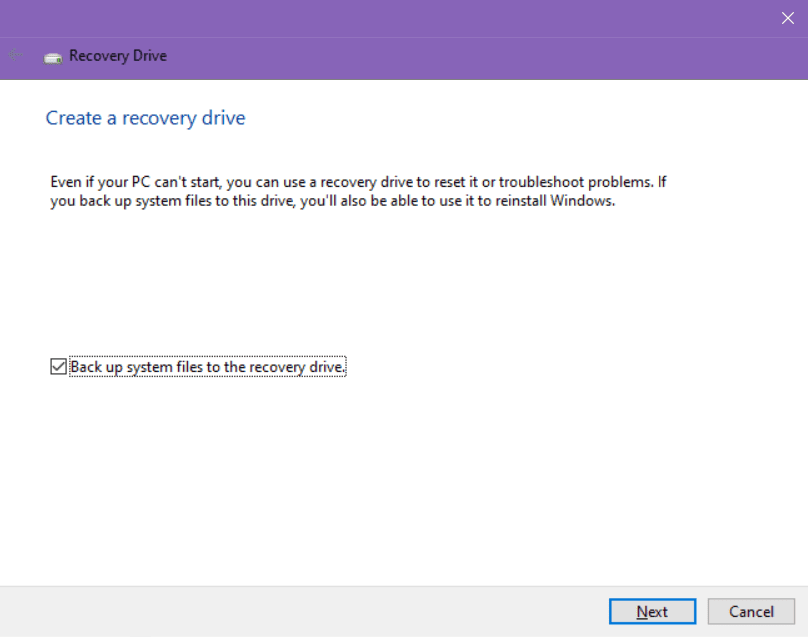
- Recovery drive creation – Create a recovery drive to access troubleshooting options
Optimizing USB Port Usage for SD Cards
To optimize USB port usage for SD cards on Windows 10, follow these steps:
1. First, ensure that your PC is turned on and logged in as the user experiencing the issue.
2. If you encounter an error message or notification asking you to insert external storage media and press OK, insert your SD card into the USB port on your computer.
3. If the issue persists, try the following methods:
a. Restart your PC and check if the error message or loop is resolved.
b. Update your Windows OS to the latest version to ensure compatibility with SD cards.
c. Disable any antivirus or Windows Firewall temporarily as they might interfere with the process.
d. Check if your BIOS settings allow for booting from USB storage devices.
e. Use a different USB port or SD card reader to rule out any hardware-related issues.
f. If you’re attempting to install Windows, create a bootable USB flash drive or iso file using a tool like Windows 10 USB/DVD Download Tool.
Remember to always follow the specific instructions provided with your PC or SD card for best results.
python

def prompt_external_storage():

    print("Please insert the external storage media and press OK.")
def main():
prompt_external_storage()
# Placeholder code for further operations
if __name__ == "__main__":
main()
Explanation:
The provided code is a simple Python script that displays a prompt asking the user to insert external storage media. However, please note that this code does not have the capability to detect the actual insertion of storage media or interact with it in any meaningful way. It merely displays the prompt and proceeds with placeholder code, which you can replace with the desired functionality based on your specific requirements and the platform’s capabilities.
Updating BIOS for Improved Performance
To update your BIOS for improved performance, follow these steps:
1. Ensure that you have a USB storage device available.
2. Insert the USB storage device into your computer.
3. Restart your computer and enter the BIOS setup by pressing the specified key during the boot process (usually F2 or Delete).
4. Once in the BIOS setup, navigate to the “Boot” or “Advanced” section.
5. Look for an option called “BIOS Update” or similar.
6. Select the option and choose the USB storage device as the source for the update.
7. Confirm the update and wait for it to complete. Do not turn off your computer during this process.
8. Once the update is finished, restart your computer.
9. Verify that the BIOS has been successfully updated by checking the version number in the BIOS setup.
10. Enjoy the improved performance on your Windows OS.
Please note that updating the BIOS can be a delicate process, and it is important to follow the instructions provided by your computer manufacturer.
Please exercise caution when inserting the external storage media and pressing ok, ensuring not to over exaggerate any potential risks. Download this tool to run a scan