System Repair Disc Creation Error on Windows 10
Encountering errors while trying to create a system repair disc on Windows 10? Here’s what you need to know.
Solutions to Fix the “System Repair Disc Could Not Be Created” Error in Windows 10
To fix the “System Repair Disc Could Not Be Created” error in Windows 10, try the following solutions:
1. Check if your hard drive has enough space for the system repair disc.
2. Use a different drive or DVD disk to create the system repair disc.
3. Run the System File Checker (SFC) scan using the command prompt window. sfc /scannow
4. Check and fix any errors on the drive using the Check Disk utility. chkdsk /f /r
5. Use the Clean Boot State to eliminate any software conflicts that may be causing the issue.
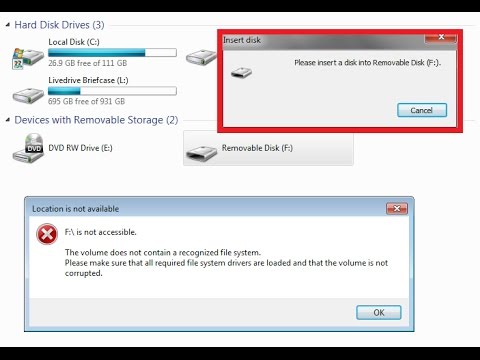
6. Try formatting and partitioning the USB drive or DVD, and then create the system image backup again.
7. Use the Windows built-in utility, recdisc.exe, to create a bootable USB recovery drive or DVD.
By following these methods, you should be able to create a system repair disc successfully without encountering the error message.
Additionally, Fortect can fix missing or corrupt DLL files, which can also contribute to this issue. While it cannot directly fix the error, it can ensure that Windows and other programs run smoothly, potentially resolving the underlying causes of the problem.

Troubleshooting Steps to Create a System Repair Disc in Windows 10
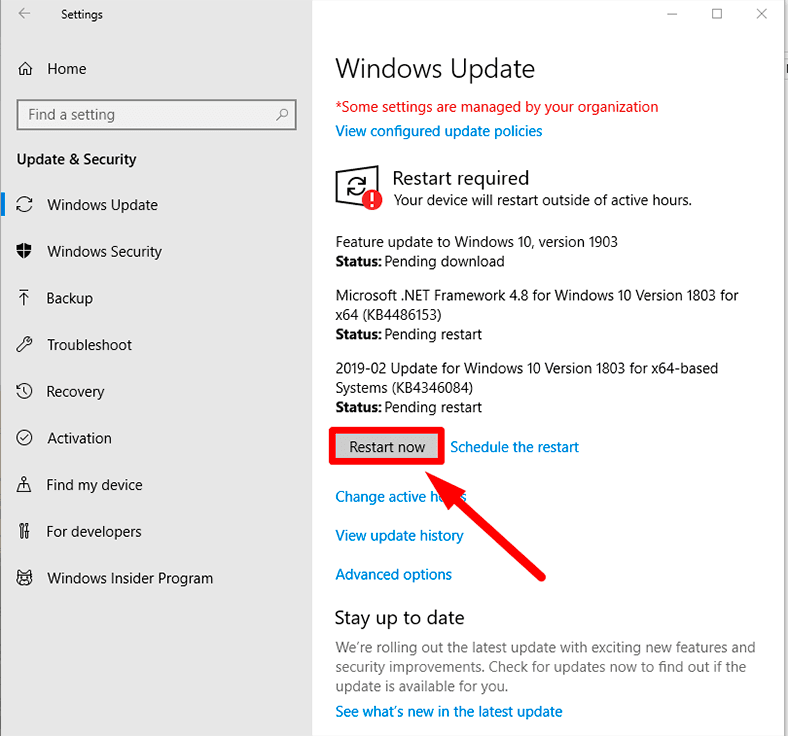
- Check for updates:
- Open Settings
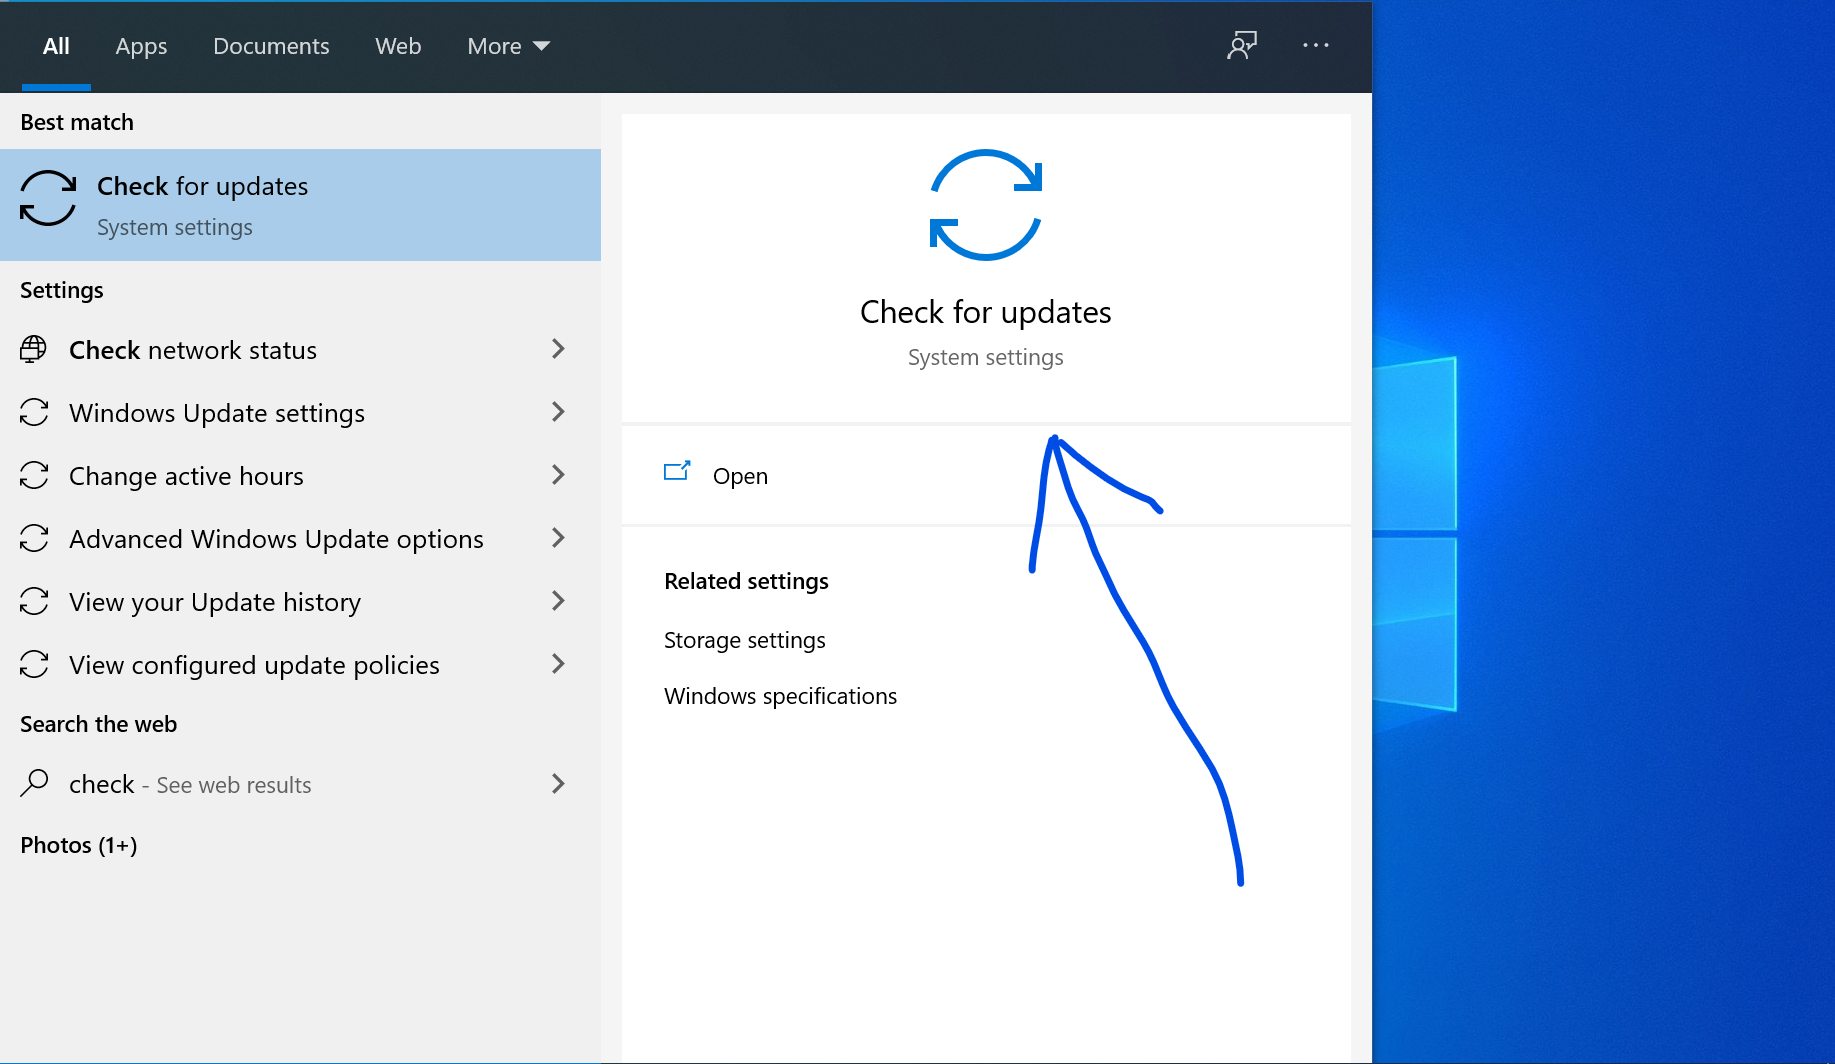
- Click on Update & Security
- Select Windows Update
- Click on Check for updates
- Install any available updates
- Run the System File Checker:
- Open Command Prompt as an administrator
- Type sfc /scannow and press Enter
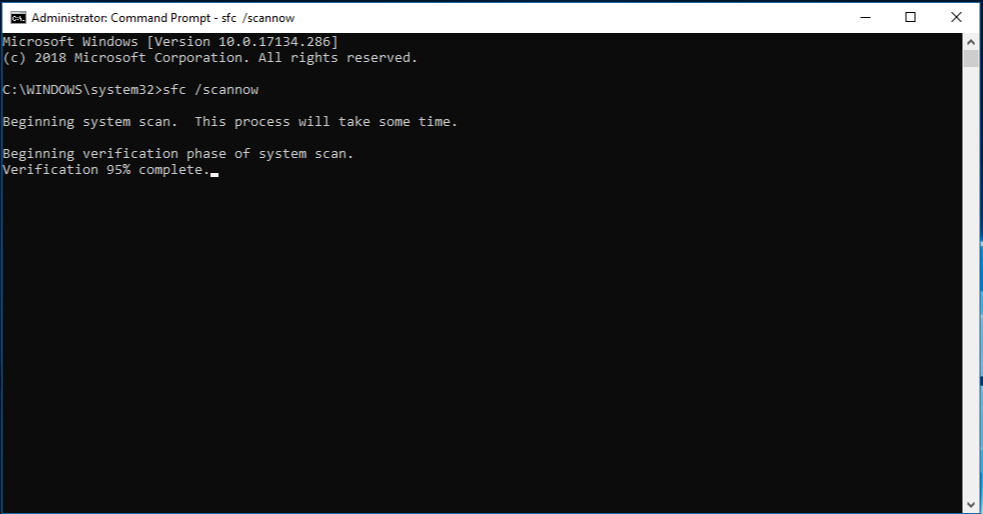
- Wait for the scan to complete
- If errors are found, restart your computer and run the scan again
- Run the DISM tool:
- Open Command Prompt as an administrator
- Type Dism /Online /Cleanup-Image /CheckHealth and press Enter
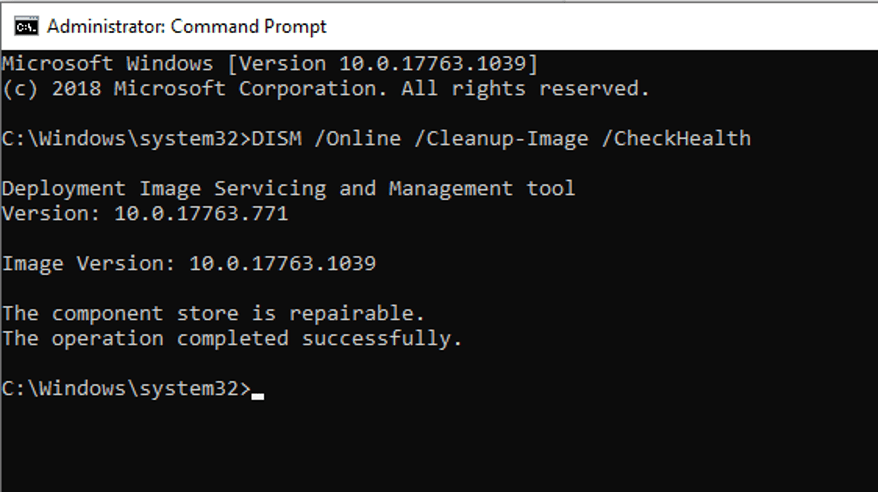
- If the tool reports no issues, run Dism /Online /Cleanup-Image /ScanHealth
- If any issues are found, run Dism /Online /Cleanup-Image /RestoreHealth
- Wait for the process to complete
- Check your disc drive:
- Insert a blank CD or DVD into your disc drive
- Ensure that the disc drive is working properly
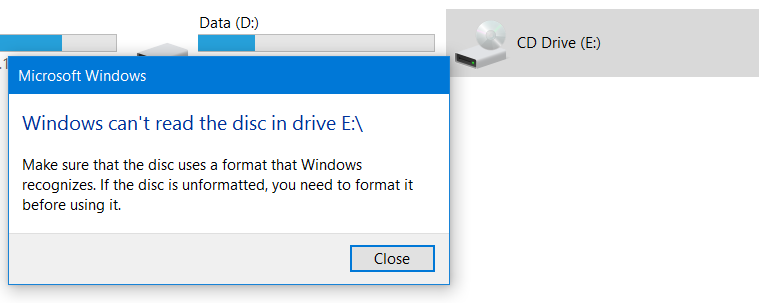
- If necessary, update the drivers for your disc drive
- Try a different disc:
- Insert a different blank CD or DVD into your disc drive
- If the previous disc was faulty, this should resolve the issue
- Disable antivirus software:
- Temporarily disable any antivirus software running on your computer
- Try creating the system repair disc again
- Re-enable your antivirus software after creating the disc
Alternative Methods to Create a System Recovery Disc or Drive in Windows 10
If you encounter an error when creating a system repair disc in Windows 10, don’t panic. There are alternative methods you can use to create a bootable recovery drive. One option is to use the built-in System Image Backup tool to create a system image on an external hard drive or USB flash drive. You can then use this to restore your system in case of problems. Another option is to use the command prompt window to create a System Repair Disk. Use the “recdisc.exe” command to create a bootable DVD disk or “bootable USB recovery drive” to fix system repair disc errors, including 0x8007045D and I/O device errors. You can also try creating a recovery partition or formatting your USB drive to fix the problem.
Understanding the Importance of Having a System Repair Disc in Windows 10
A System Repair Disc is a crucial tool for fixing Windows 10 issues. It can help resolve problems like system crashes, startup errors, and more. However, sometimes creating a System Repair Disc can result in an error, such as the 0x8007045D error. This error is typically caused by issues with the hard disk or DVD drive.
To fix the error, try creating the System Repair Disc in a Clean Boot State or partitioning the hard disk. Also, make sure the USB flash drive or DVD drive has enough space and is formatted correctly.
If you still encounter the error, you can try using the recdisc.exe utility or creating the System Repair Disc on a different PC. Once you have created the System Repair Disc, make sure to label it properly and keep it in a safe place.
Having a System Repair Disc can be a lifesaver in case of a system failure, and it’s crucial to have one available. You can access the System Recovery Options by booting from the installation disc or using File Manager or Control Panel. Remember to stay calm and follow the instructions carefully when troubleshooting any system problem.
It is important to exercise caution when encountering the issue of “System Repair Disc could not be created” in Windows 10, as it may require troubleshooting steps to resolve the problem. Download this tool to run a scan