Windows 10 USB Device Not Detected Fixes
Having trouble with your Windows 10 USB device not being detected? Check out these simple fixes to get your device up and running smoothly.
Preliminary USB Troubleshooting Steps
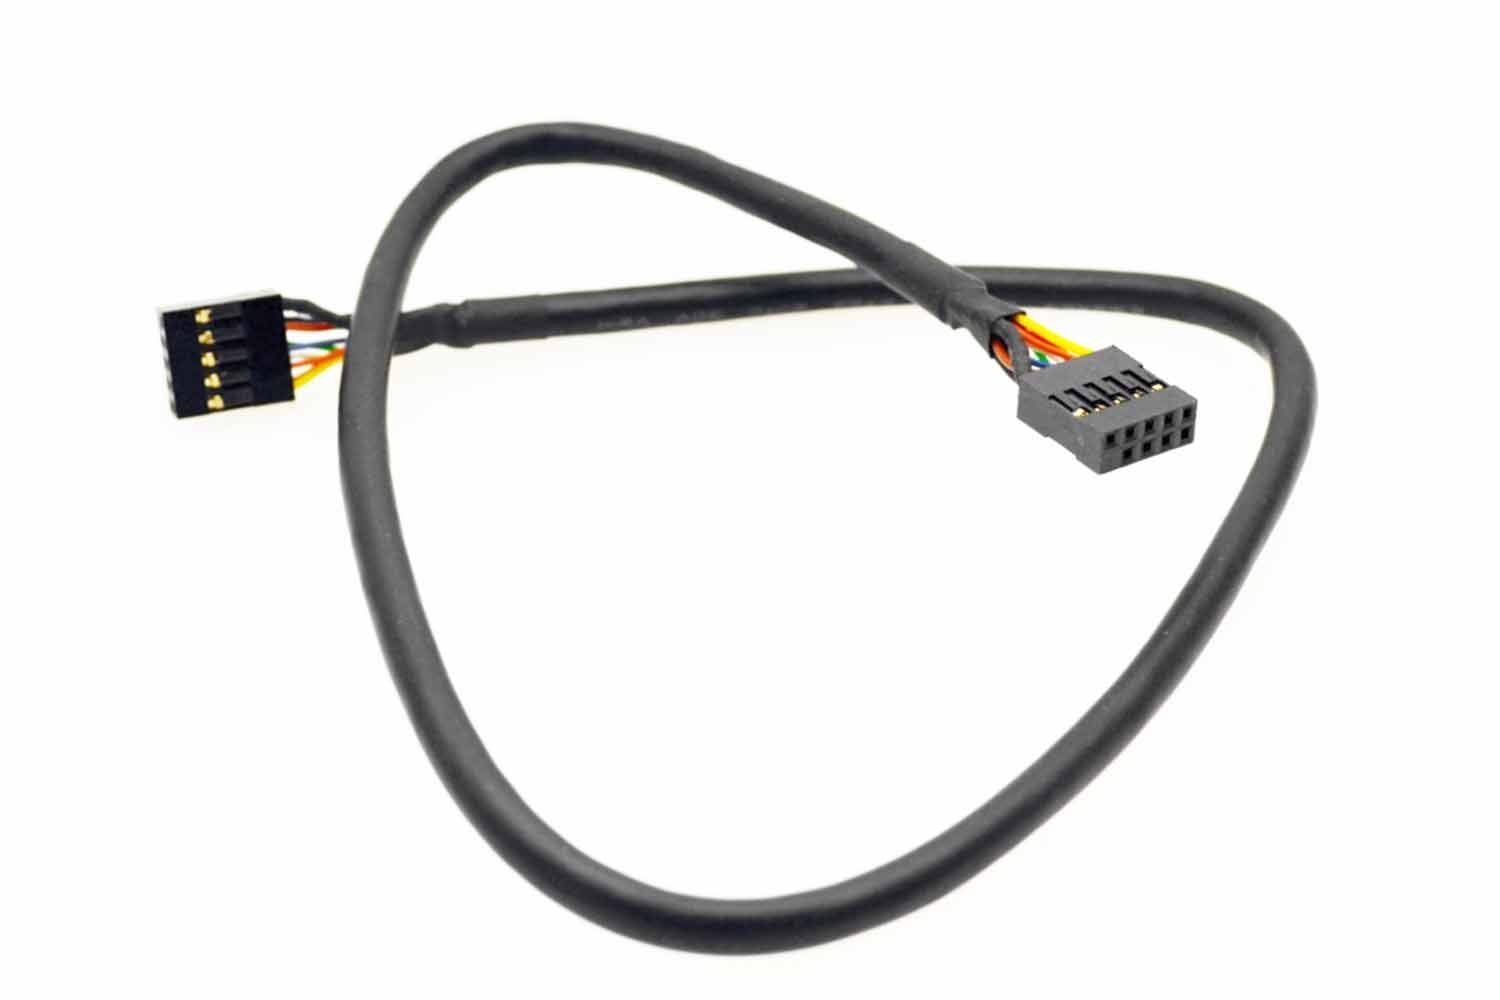
If your USB device is not being detected on Windows 10, there are a few preliminary troubleshooting steps you can take before diving into more complex fixes.
1. Check the USB connection: Make sure the USB device is properly connected to your computer. Try unplugging it and plugging it back in to see if that resolves the issue.
2. Test the USB port: Try connecting the USB device to a different USB port on your computer to rule out any issues with the specific port you were using.
3. Restart your computer: Sometimes a simple restart can fix USB detection issues. Restart your computer and see if the USB device is detected upon startup.
If these preliminary steps do not resolve the issue, you may need to explore more advanced fixes for Windows 10 USB device detection problems.
Simple Solutions for USB Detection
- Ensure the USB device is properly plugged into the computer.
- Try a different USB port on the computer to see if the device is recognized.
- Check for any physical damage to the USB cable or device.
Restart Computer
- Save any work and close all open programs.
- Click on the Start menu and select Restart.
- Wait for the computer to fully restart and try connecting the USB device again.
Update USB Drivers
- Open Device Manager by pressing Windows key + X and selecting Device Manager.
- Expand the Universal Serial Bus controllers section.
- Right-click on each USB controller and select Update driver.
- Follow the on-screen instructions to update the drivers.
Update USB Drive Drivers
1. Check for Windows Updates: Make sure your operating system is up to date by checking for any available updates through the Windows Update feature.
2. Update USB Drivers: Go to the Device Manager by right-clicking on the Start button and selecting “Device Manager.” Look for the “Universal Serial Bus controllers” category, right-click on each USB driver, and select “Update driver.”
3. Install Drivers from Manufacturer’s Website: If updating the drivers through Device Manager doesn’t work, visit the manufacturer’s website of your USB drive or motherboard to download and install the latest drivers.
4. Use Driver Update Software: If manually updating drivers seems daunting, you can use third-party driver update software like Driver Booster or Driver Easy to automatically scan for and update USB drivers.
If your USB device is still not detected after updating the drivers, try the following workarounds:
1. Check USB Connection: Make sure the USB drive is properly connected to the computer by trying different USB ports or using a different USB cable.
2. Restart Your Computer: Sometimes a simple reboot can fix detection issues with USB devices.
3. Check for Hardware Issues: If none of the above solutions work, there may be a hardware issue with either the USB drive or the motherboard. Try connecting the USB drive to a different computer to see if it is recognized.
Enable USB Controller in BIOS
To enable the USB controller in the BIOS on your Windows 10 computer, follow these simple steps. First, restart your computer and enter the BIOS setup by pressing the designated key during bootup (typically F2, F10, or Del). Once in the BIOS menu, navigate to the “Advanced” or “Integrated Peripherals” section.
Next, look for an option related to USB controllers or USB ports. This may be labeled differently depending on your BIOS version, but it should be easy to identify. Once you locate the USB controller option, make sure it is enabled. If it is currently disabled, use the arrow keys to select it and press Enter to enable it.
After enabling the USB controller, save your changes and exit the BIOS setup. Your computer will restart, and the USB controller should now be active. Check to see if your USB device is detected properly in Windows 10.
If enabling the USB controller in the BIOS does not resolve the issue of your USB device not being detected, there may be other factors at play. Make sure your Windows 10 is up to date by running Windows Update. Outdated software can sometimes cause compatibility issues with USB devices.
Additionally, check for any device driver updates related to your USB device. Updating drivers can often fix detection issues. You can do this through the Device Manager in Windows 10.
If you are still experiencing problems with your USB device not being detected, you may need to troubleshoot further. Try connecting the device to different USB ports on your computer to see if the issue is port-specific. You can also try connecting the device to another computer to determine if the problem lies with the device itself.
If all else fails, you may need to consider seeking professional help or contacting the manufacturer of your USB device for support. In some cases, there may be a hardware issue with either the USB device or your computer that requires technical assistance.
Repair USB Drive Bad Sectors
To repair bad sectors on a USB drive in Windows 10, you can use the built-in utility called CHKDSK. This tool scans the drive for errors and fixes any bad sectors it finds.
1. Open Command Prompt by pressing Windows Key + X and selecting Command Prompt (Admin).
2. Type ‘chkdsk /f X:’ (replace X with the drive letter of your USB drive) and press Enter.
3. CHKDSK will start scanning the drive and repairing any bad sectors it finds. This process may take some time, so be patient.
If CHKDSK doesn’t fix the bad sectors on your USB drive, you can also try using third-party disk repair tools like EaseUS Partition Master or MiniTool Partition Wizard. These tools offer more advanced features and may be able to repair the drive more effectively.
Remember to back up your data before attempting any repairs on your USB drive, as there is always a risk of data loss when working with disk repair tools.
Additionally, Fortect can identify and fix hardware compatibility issues that might be causing the USB problem.
Fix USB Drive File System Issues
1. Check USB Port: Start by checking if the USB port is functioning properly. Try connecting the USB drive to a different port on your computer to see if it is detected.
2. Update Device Driver: Make sure that the device driver for the USB drive is up to date. You can do this by going to Device Manager, finding the USB drive under the “Disk drives” category, right-clicking on it, and selecting “Update driver.”
3. Reformat USB Drive: If the file system on the USB drive is corrupted, you may need to reformat it. Be aware that reformatting will erase all data on the drive, so make sure to back up any important files before proceeding.
4. Use Disk Management: If the USB drive is not being detected, you can try using Disk Management to assign a new drive letter to the USB drive. To do this, right-click on the Start button, select Disk Management, find the USB drive in the list of drives, right-click on it, and select “Change Drive Letter and Paths.”
5. Run CHKDSK: Another solution is to run the CHKDSK utility to check for and repair file system errors on the USB drive. Open Command Prompt as administrator and type “chkdsk /f X:” (replace X with the drive letter of the USB drive) and press Enter.
6. Use Third-Party Software: If the above methods do not work, you can try using third-party software to repair the file system on the USB drive. There are many tools available online that can help with this.
Assign a New Drive Letter
1. Open Disk Management: Right-click on the Start button and select “Disk Management” from the menu.
2. Locate your USB device: Look for your USB device in the list of drives. It may show up as a removable disk with no drive letter assigned.
3. Assign a new drive letter: Right-click on the USB device and select “Change Drive Letter and Paths.” Click on the “Change” button, then select “Assign the following drive letter.” Choose a new drive letter from the drop-down menu.
4. Confirm the changes: Click “OK” to assign the new drive letter to your USB device. You may need to restart your computer for the changes to take effect.
By assigning a new drive letter to your USB device, you may be able to resolve the issue of it not being detected by Windows 10. This simple workaround can help you access your files and data stored on the USB device.
Update Windows Operating System
To update the Windows operating system and potentially fix the issue of a USB device not being detected, follow these steps:
1. Check for Windows Updates: Make sure your system is up to date by checking for any available updates. Go to Settings > Update & Security > Windows Update and click on “Check for updates.” Install any pending updates and then restart your computer.
2. Update Device Drivers: Outdated device drivers can cause issues with USB devices not being detected. Go to Device Manager by pressing Windows key + X and selecting Device Manager. Look for any devices with a yellow exclamation mark, right-click and select “Update driver.”
3. Disable USB Selective Suspend: USB Selective Suspend can sometimes interfere with the detection of USB devices. Disable this feature by going to Control Panel > Power Options > Change Plan Settings > Change advanced power settings. Expand USB settings and disable USB selective suspend setting.
4. Run Hardware and Devices Troubleshooter: Windows has a built-in troubleshooter that can help identify and fix hardware issues. Type “troubleshoot” in the Windows search bar, select “Troubleshoot settings,” and run the Hardware and Devices troubleshooter.
5. Check USB Port and Cable: Sometimes the issue may be with the USB port or cable. Try connecting the USB device to a different port or using a different cable to see if it gets detected.
6. Reinstall USB Controllers: Corrupted USB controllers can cause detection issues. Go to Device Manager, expand the Universal Serial Bus controllers section, right-click on each USB controller, and select “Uninstall device.” Restart your computer and let Windows reinstall the controllers.
7. Reset BIOS Settings: Resetting BIOS settings to default can help resolve hardware detection issues. Restart your computer and enter BIOS settings (usually by pressing Del or F2 key). Look for an option to reset to default settings and save changes.
8. Run Windows Update Troubleshooter: If updating Windows did not fix the issue, run the Windows Update Troubleshooter to identify and resolve any update-related problems. Type “troubleshoot” in the Windows search bar, select “Troubleshoot settings,” and run the Windows Update troubleshooter.
Check USB-C Port Functionality
To check the functionality of the USB-C port on your Windows 10 device, follow these steps:
1. Inspect the USB-C Port: Start by visually examining the USB-C port for any physical damage or debris that may be obstructing the connection.
2. Use a Different USB-C Device: Connect a different USB-C device to the port to see if it is recognized by your Windows 10 computer. This will help determine if the issue lies with the port or the original device.
3. Update Drivers: Ensure that your Windows 10 device has the latest drivers installed for the USB-C port. Visit the manufacturer’s website or use Windows Update to check for any available driver updates.
4. Restart Your Computer: Sometimes a simple restart can resolve connectivity issues. Restart your computer and check if the USB-C port now recognizes devices.
5. Check Device Manager: Open Device Manager on your Windows 10 device and look for any yellow exclamation marks next to the USB controllers. This could indicate a driver issue that needs to be addressed.
6. Test Different USB-C Cables: Try using different USB-C cables to rule out any issues with the cable itself. Some cables may not be compatible with certain devices.
7. Update Windows: Make sure your Windows 10 device is running the latest updates from Microsoft. This can include important fixes and patches that may resolve USB-C port detection issues.
8. Disable Power Management: In Device Manager, right-click on the USB Root Hub and select Properties. Go to the Power Management tab and uncheck the box that allows the computer to turn off the device to save power.
9. Run Troubleshooter: Windows 10 has a built-in troubleshooter that can help identify and fix USB device detection issues. Go to Settings > Update & Security > Troubleshoot and run the Hardware and Devices troubleshooter.
10. Contact Support: If none of the above solutions work, contact your device manufacturer or Microsoft Support for further assistance in diagnosing and fixing the USB-C port functionality issue.
Test USB-C and USB4 Device Compatibility
1. Connect the USB-C or USB4 device to your computer.
2. Check if the device is detected by Windows 10.
3. If the device is not detected, try updating the drivers for the USB-C or USB4 port on your computer.
4. Restart your computer and check if the device is now detected.
5. If the device is still not detected, try connecting the device to a different USB-C or USB4 port on your computer.
6. Test the device on another computer to determine if the issue is with the device itself or the computer.
7. If the device works on another computer, the issue may be with your Windows 10 system. Try running the Windows Hardware and Devices troubleshooter to fix any potential issues.
8. Additionally, make sure that your Windows 10 system is up to date with the latest updates from Microsoft.
9. If the device is still not detected, consider contacting the manufacturer for further assistance or troubleshooting steps.
Reinstall Disk Drivers
1. Open Device Manager by pressing Windows key + X and selecting Device Manager from the menu.
2. Expand the Disk drives category and locate the USB device that is not being detected.
3. Right-click on the USB device and select Uninstall device.
4. Reboot your computer to allow Windows to automatically reinstall the disk drivers for the USB device.
If the USB device is still not being detected after reinstalling the disk drivers, you can try updating the drivers manually by following these steps:
1. Open Device Manager again and locate the USB device under Disk drives.
2. Right-click on the USB device and select Update driver.
3. Choose Search automatically for updated driver software and follow the on-screen instructions to complete the driver update.
If updating the drivers manually does not resolve the issue, you can try rolling back the drivers to a previous version:
1. Open Device Manager and locate the USB device under Disk drives.
2. Right-click on the USB device and select Properties.
3. Go to the Driver tab and select Roll Back Driver if the option is available.
If none of these steps fix the issue of the USB device not being detected, you may need to consider other factors such as a faulty USB port or cable. Try connecting the USB device to a different port or using a different cable to see if that resolves the problem.
Seek Professional USB Repair Services
When seeking professional USB repair services, be sure to choose a reputable and experienced service provider. Look for companies that specialize in computer hardware repair and have a track record of successfully resolving USB device detection issues. You can also ask for recommendations from friends or colleagues who have had similar problems with their devices.
Once you have selected a repair service, make sure to provide them with all the relevant information about your USB device and the issue you are experiencing. This will help the technicians quickly diagnose the problem and come up with an effective solution. Be prepared to provide details such as the make and model of your USB device, the type of computer you are using, and any error messages you have encountered.
After the technicians have diagnosed the issue, they will provide you with a quote for the repair work. Make sure to ask about the cost upfront and clarify any doubts you may have about the repair process. Once you have agreed to the terms, the technicians will proceed with the necessary repairs to get your USB device up and running again.
Professional USB repair services can be a lifesaver when you are dealing with stubborn USB device detection issues. Instead of wasting time and effort trying to fix the problem on your own, it is always best to seek help from experts who have the knowledge and experience to resolve complex hardware issues.
Frequently Asked Questions
How do I fix Windows 10 not recognizing my USB?
To fix Windows 10 not recognizing your USB, you can try restarting your computer, using a different port, updating Windows and drivers, changing root hub settings, and disabling fast startup. If the issue persists, try connecting the USB to a different computer and device to see if the problem lies with the USB itself.
Why is my USB not being detected?
Your USB may not be detected due to unstable or corrupt USB controllers, selective suspend on the external drive, or outdated drivers on the PC motherboard.
How do I fix undetected USB?
To fix an undetected USB, you can try reconnecting the device to a different USB port, connecting it to another computer, updating the device drivers, and checking Device Manager for any issues.
How do I enable USB detection in Windows 10?
To enable USB detection in Windows 10, you can access Device Manager by typing “devmgmt.msc” in the Start Menu search box. Then, navigate to Universal Serial Bus Controllers, right-click on the USB port option, and choose to enable the port.
My USB device is not being detected by my Windows 10 computer. Download this tool to run a scan


