Wired Pro Controller Not Connecting to Nintendo Switch
Unveiling the perplexing mystery of the unresponsive connection between the Nintendo Switch and its trusty Wired Pro Controller.
Troubleshooting Wired Controller Connection Issues
1. Ensure that your Nintendo Switch console is turned on and in the HOME Menu.
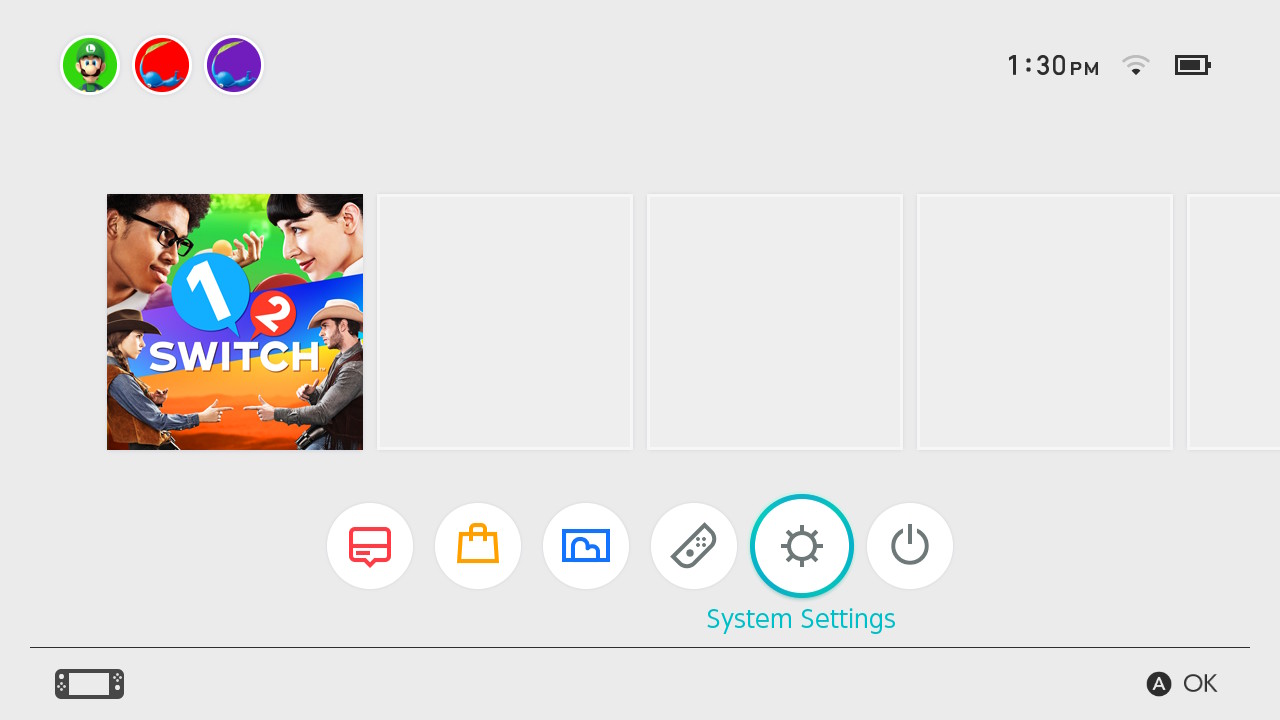
2. Open the Controllers panel by selecting “Controllers” from the HOME Menu.
3. Check that the Wired Pro Controller is properly connected to the Nintendo Switch using a USB cable.
4. If the controller still isn’t connecting, try using a different USB cable or a different USB port on the Nintendo Switch Dock.
5. Make sure the Pro Controller is charged by connecting it to a power source using a USB Power Cable.
6. If you have a Pro Controller with a Power button, press and hold it for 3 seconds to turn on the controller.
7. If the LED on the Pro Controller doesn’t light up, try pressing the SYNC Button on the controller to establish a connection.
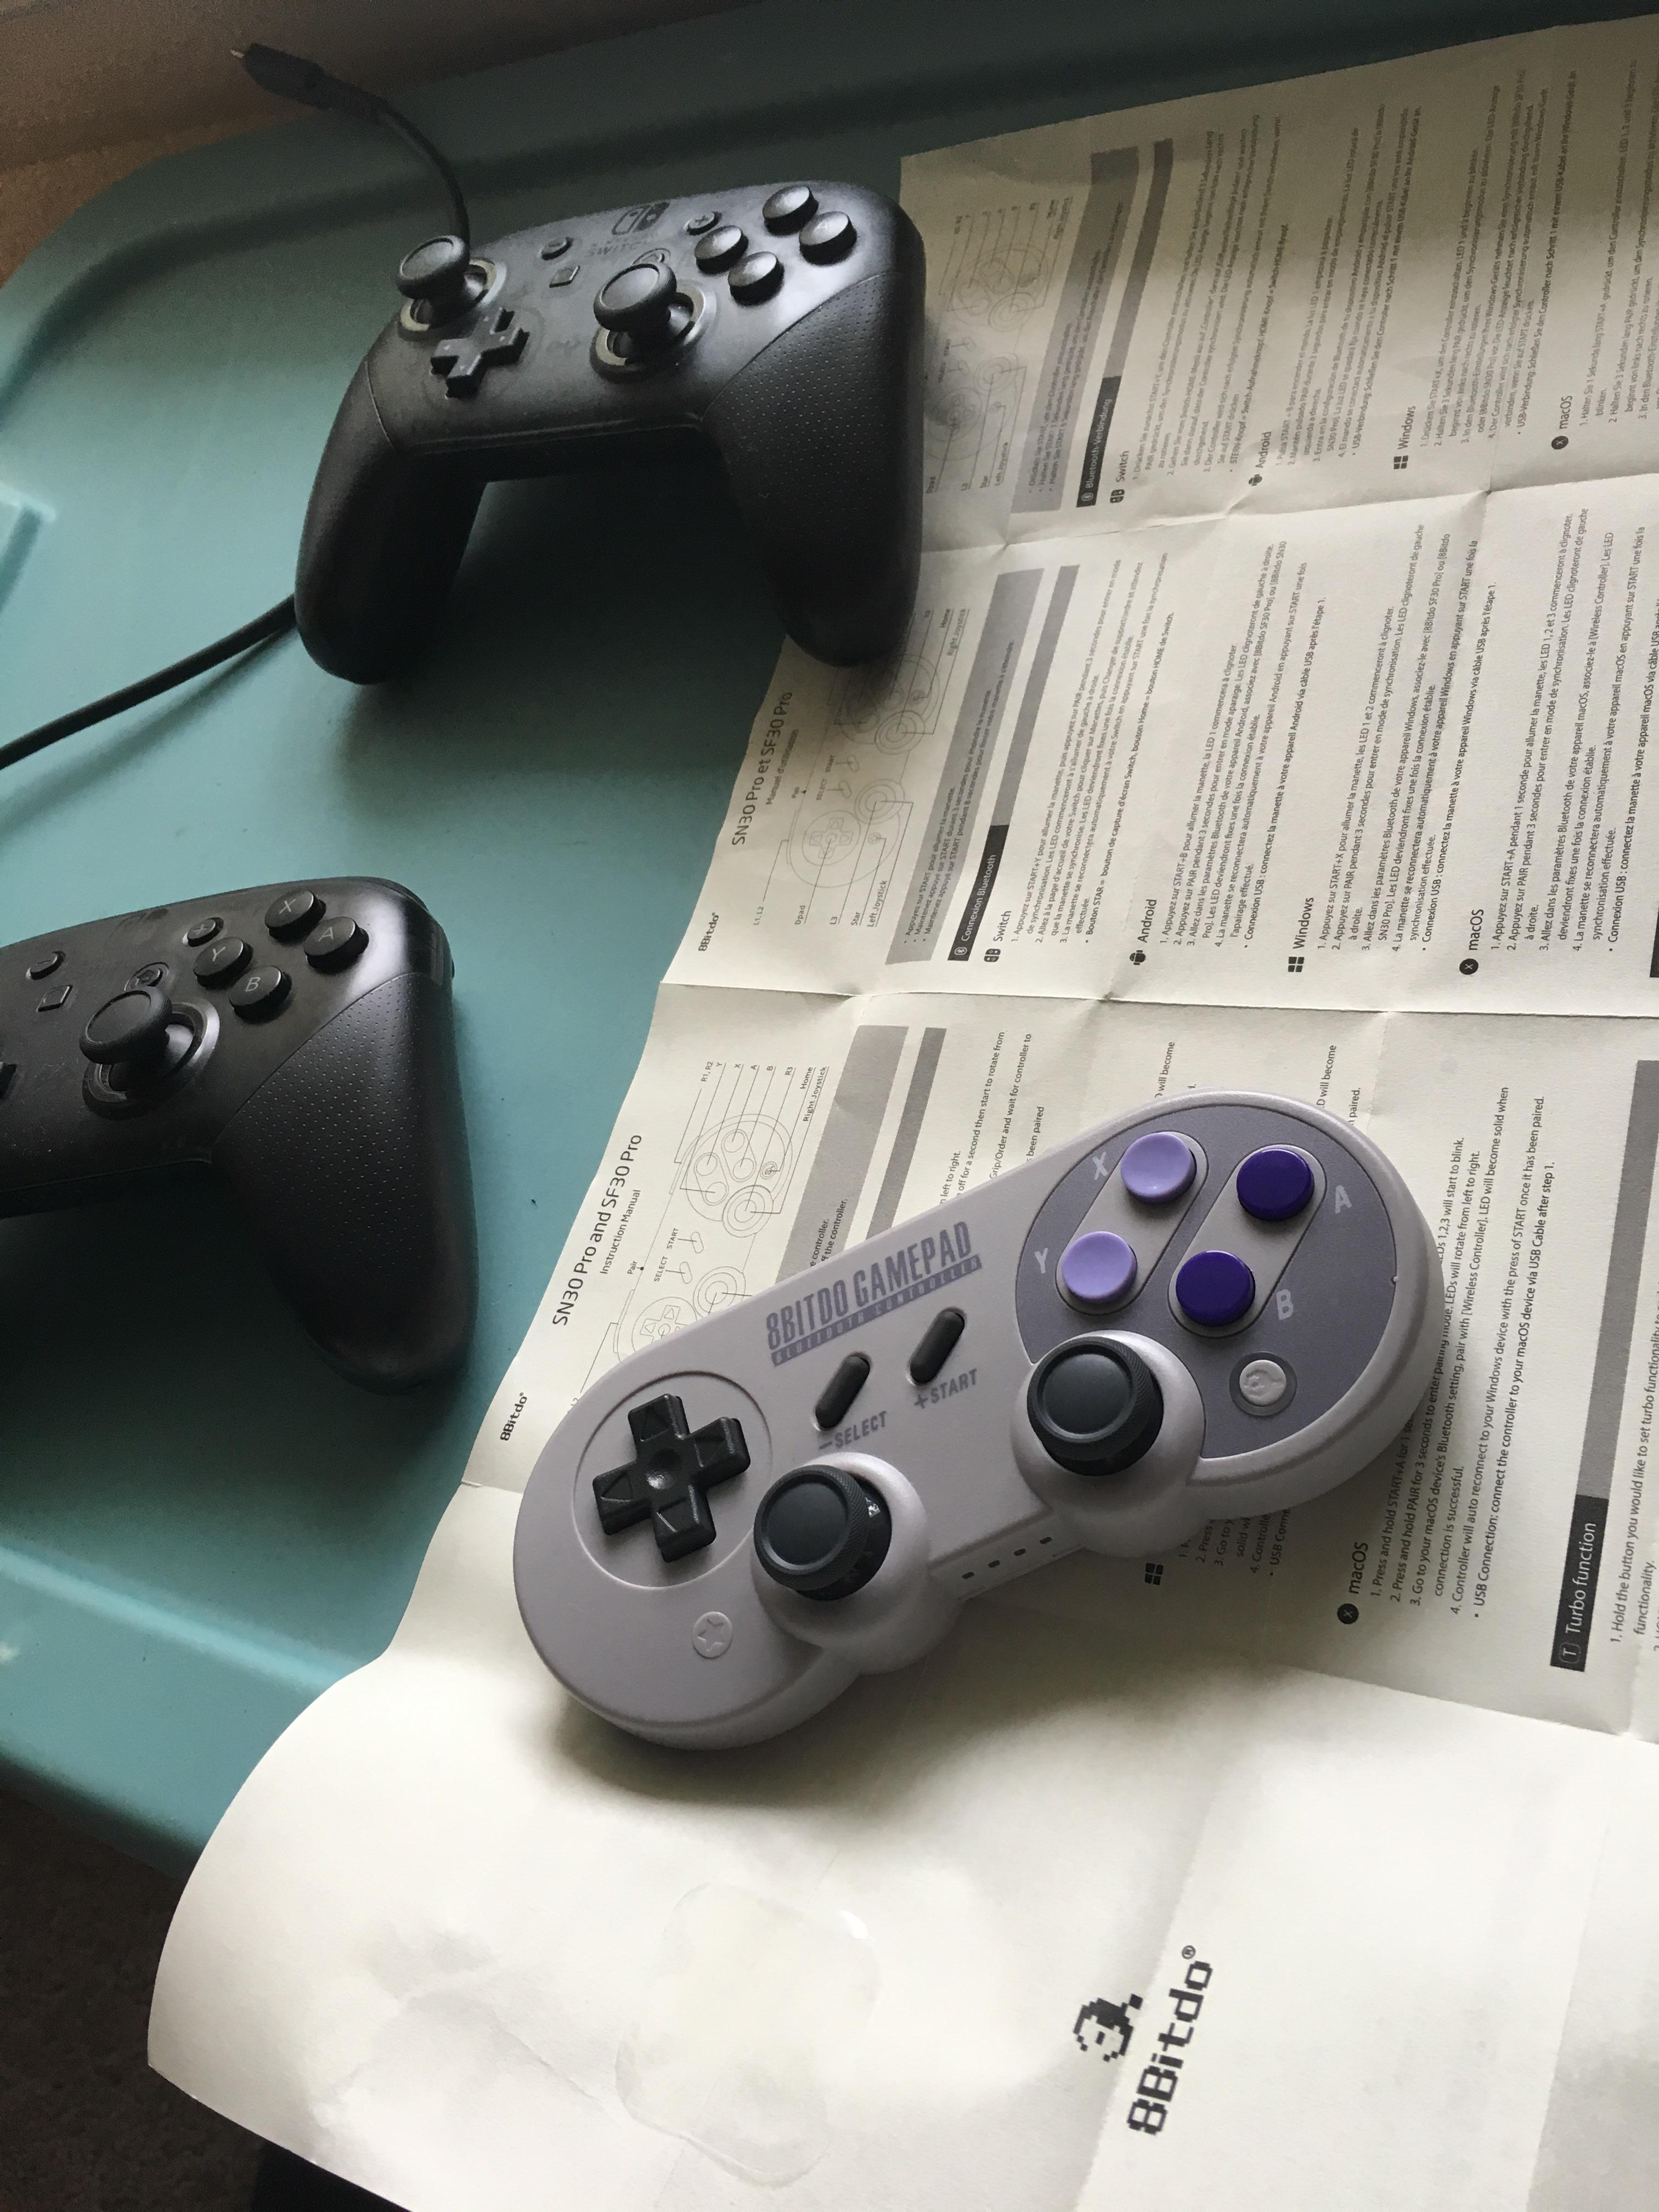
8. If you’re using a third-party wired controller like the Fighting Stick Mini or RAP, make sure it’s compatible with the Nintendo Switch.
9. Update your Nintendo Switch system software to the latest version to ensure compatibility with the wired controller.
10. If you’re still experiencing issues, please contact our support team for further assistance.
Resyncing and Resetting a Wired Nintendo Switch Controller
If your Wired Pro Controller is not connecting to your Nintendo Switch, try resyncing and resetting it to resolve the issue. Follow these steps:
1. Ensure your Nintendo Switch console is turned on and in the HOME Menu.
2. Connect your Wired Pro Controller to the console using the micro USB cable.
3. Open the Controllers menu from the HOME Menu.
4. Select “Change Grip/Order” to enter the controller pairing screen.
5. On your Wired Pro Controller, locate the SYNC Button (usually found on the back).
6. Press and hold the SYNC Button for a few seconds until the LED starts flashing.
7. On the controller pairing screen, press the “+” button to add a new controller.
8. Your Wired Pro Controller should now appear on the screen.
9. Select it and follow the prompts to complete the pairing process.
If the issue persists, make sure your controller’s firmware and the Nintendo Switch system’s software are up to date. You can also try connecting the controller directly to the Nintendo Switch Dock using a USB power cable for a more stable connection. For further assistance, contact our support team or refer to the product’s manual.
Fortect also ensures that Windows and other programs run smoothly, addressing issues like freezing or slowdowns. While it cannot guarantee a fix for every problem, it may be worth trying to resolve the controller connection issue.

Checking and Fixing Nintendo Switch Controller Recognition Problems
If your Wired Pro Controller is not connecting to your Nintendo Switch, follow these steps to troubleshoot the issue:
1. Check the controller cable: Ensure that the micro USB cable is securely connected to both the controller and the Switch console.
2. Verify the Power Options: Make sure the controller is turned on by pressing the Power button. If it’s not turning on, try connecting it to a different USB port on the console.
3. Update the System: It’s important to keep your Switch firmware up to date. Go to System Settings > System Update to check for any available updates.
4. Restart the Console: Sometimes a simple restart can solve connection issues. Go to the Power menu and select “Turn Off.” Wait a few seconds, then turn the console back on.
5. Re-pair the Controller: Open the Controllers panel and select “Change Grip/Order.” Press and hold the Sync button on the Pro Controller until it’s recognized by the Switch.
If the problem persists, it’s recommended to contact Nintendo Support for further assistance.
python

import time
def check_controller_connection():
"""
This function checks if the wired pro controller is connected to the Nintendo Switch.
"""
connected = False
# Perform necessary checks or actions to verify the controller connection
# For example, you can use a library like pyserial to check the USB connection status
# Sample code to check the USB connection using pyserial (requires installation)
try:
import serial
ser = serial.Serial('/dev/ttyUSB0') # Replace with the appropriate USB port
time.sleep(2)
if ser.isOpen():
connected = True
ser.close()
except Exception as e:
print(f"Error: {e}")
return connected
# Main program
if __name__ == "__main__":
if check_controller_connection():
print("Wired pro controller is connected to the Nintendo Switch.")
else:
print("Wired pro controller is not connected to the Nintendo Switch.")
Connecting a Switch Pro Controller to a PC
To connect, follow these steps:
1. Plug the USB end of the controller cable into one of your PC’s available USB ports.
2. Connect the other end of the cable to the Switch Pro Controller.
3. Once connected, your PC should automatically recognize the controller.
4. If it doesn’t, open the Start menu and search for “Devices and Printers.”
5. Click on “Devices and Printers” to open the Control Panel.
6. Look for the Switch Pro Controller under the “Devices” section.
7. Right-click on the controller and select “Game controller settings.”
8. In the “Game Controllers” window, select the Switch Pro Controller and click on “Properties.”
9. Test the controller’s inputs to ensure it’s working properly.
Alternative Methods for Connecting Game Controllers to a Switch
- Press and hold the SYNC button located on the side of the Pro Controller for a few seconds.
- Release the SYNC button.
- On the Nintendo Switch console, navigate to “System Settings” from the Home menu.
- Select “Controllers and Sensors.”
- Choose “Change Grip/Order.”
- Press and hold the SYNC button on the Pro Controller again until the lights start flashing.
- The Pro Controller should now be detected and connected to the Nintendo Switch.
Update the Controller Firmware
- Make sure the Nintendo Switch console is connected to the internet.
- Go to the Home menu and select “System Settings.”
- Choose “Controllers and Sensors.”
- Select “Update Controllers.”
- If an update is available for the Pro Controller, follow the on-screen instructions to download and install it.
- Restart the Nintendo Switch console and check if the Pro Controller connects properly.
Check for Interference
- Ensure there are no other wireless devices or objects that may be interfering with the Bluetooth signal between the Pro Controller and the Nintendo Switch.
- Move any nearby wireless devices away from the console.
- Remove any potential sources of interference, such as metal objects or electronic devices, from the immediate vicinity of the console.
- Try connecting the Pro Controller again to see if the issue is resolved.
Perform a System Reset
- On the Nintendo Switch console, go to “System Settings” from the Home menu.
- Select “System.”
- Choose “Formatting Options.”
- Select “Reset Console.”
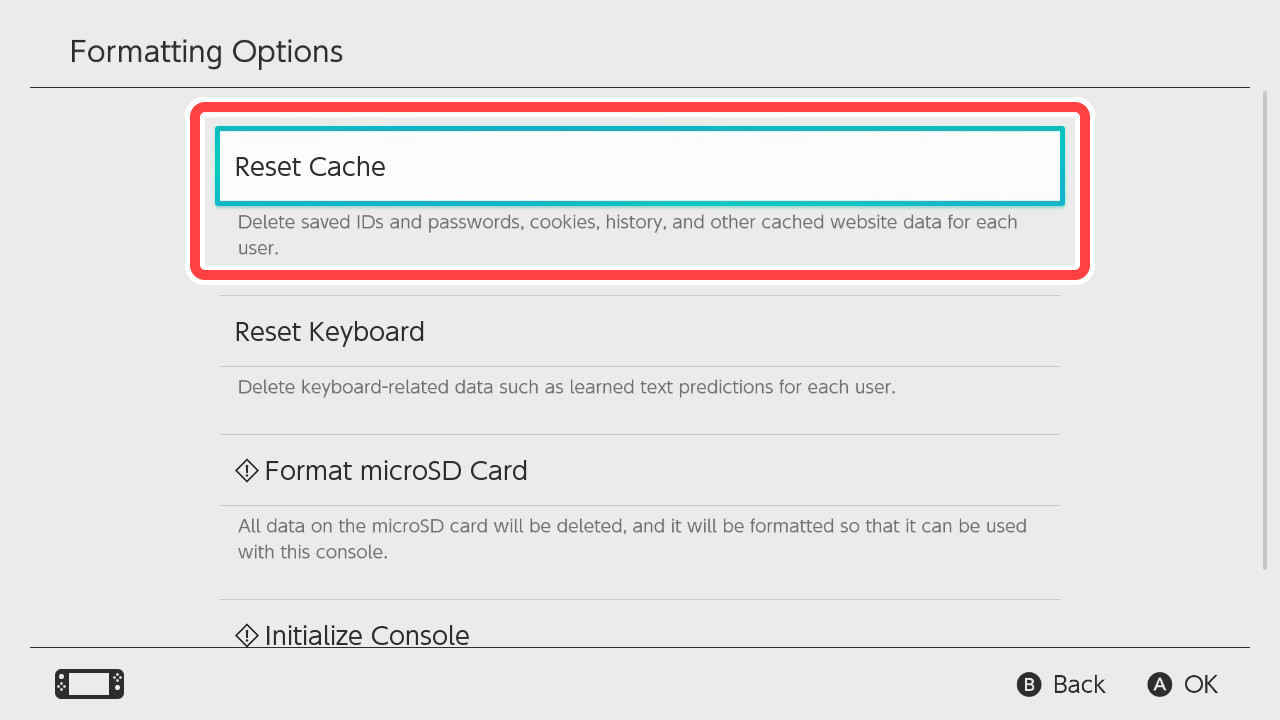
- Follow the on-screen instructions to perform a system reset.
- After the reset is complete, set up the console again and attempt to connect the Pro Controller.
It is important to be cautious when encountering issues with a wired pro controller not connecting to a Switch. Download this tool to run a scan