
Installing wordpress on Linux using Bitnami – User friendly Tech help
We already installed the individual LAMP(apache server, mysql server, php) stack for working with wordpress on linux(ubuntu) environment.
n
You don’t have to see the whole staircase. Just take the first step
n
n
nIn case we want to make our life bit easier, we can install the above LAMP stack with one push button using Bitnami.
n
nHow to install?
n
1. Open the bitnami.com > applications > wordpress > local install > download the package(which is by default selected as linux, based on the OS configuration of your PC)
n

n

n
2.Change the permission on downloaded .run file as below
nchmod a+x ./filename.run
nlaunch the run file as ./filename.run
n 
n3.Select the default options through the installer package
n
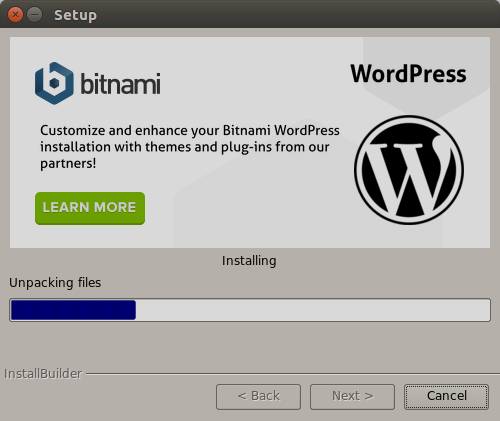
nNote:- Do remember the username and password that are used in the setup.(It’ll be used for wp-admin login to wordpress)
n

n4.After installation is complete >finish and browser will launch the bitnami page on default port 127.0.0.1:8080
n
5.Click on the link to access wordpress or open the URL :- 127.0.0.1:8080/wordpress/
n 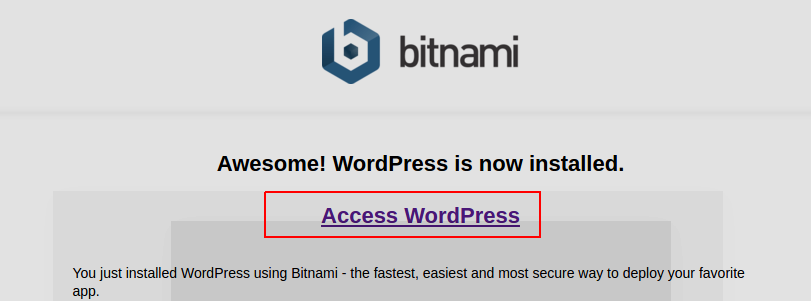
n6.You can configure the default port, check the phpmyadmin from the manager window.
n
n
nDo more configurations:-
n1.Open the location where bitnami is installed, wp-bitnami/apps/wordpress/htdocs/
nThis is the place where all the wordpress files are present, edit this to create new themes, plugins, change configurations.
n
nFor Example1,
na)open the htdocs folder in code editor lets say sublime
nb)wp-content/ — create a new folder say child and with file style.css
nc)write the below comments into style.css file
n/*Theme Name: Child of Twenty SeventeenTemplate: twentyseventeenn
*/
n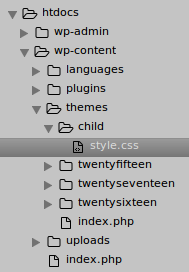 n
n
d)Check that corresponding theme is shown in appearances/themes from URL of the wordpress
n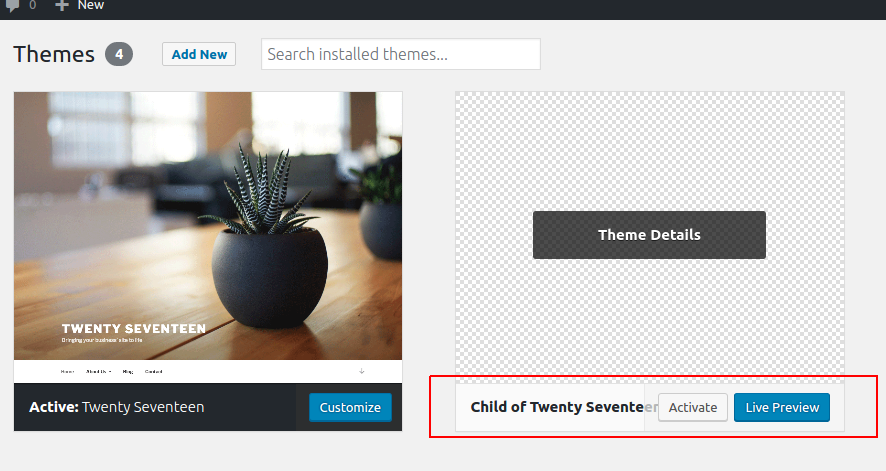 n
n
Example2:-Place new theme/plugins downloaded from internet,
nhtdocs/wp-content/plugins/ —place it here
n
n
Keep Learning and keep exploring :)
n