
Installation of TestNG in Eclipse – User friendly Tech help
After our introduction to TestNG, we are moving towards its installation as an Add-in in Eclipse.For this we need Eclipse on our system and an internet connection.
n
nAlso there is no need to download any Jar file or exe file for installation. We need to just utilize the “Install New Software” option available in the Eclipse.
n
nStep1:-
nLaunch Eclipse IDE -> Help -> Install new Software
n
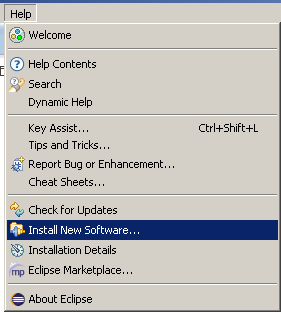 |
| Install New Software |
n
Step2:-
na.Click Add on “Available Software” window
n
 |
| Available Software |
n
b.Fill the details on “Add Repository” window, i.e Name,(say TestNG) and location = “http://beust.com/eclipse” ->Click OK
nBeust to remind You is the creator of TestNG
n
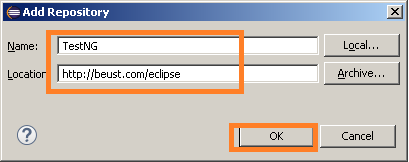 |
| Add Name and Location of TestNG |
n
nStep3:-
nSelect TestNG in Available Software list window -> Click Next
n
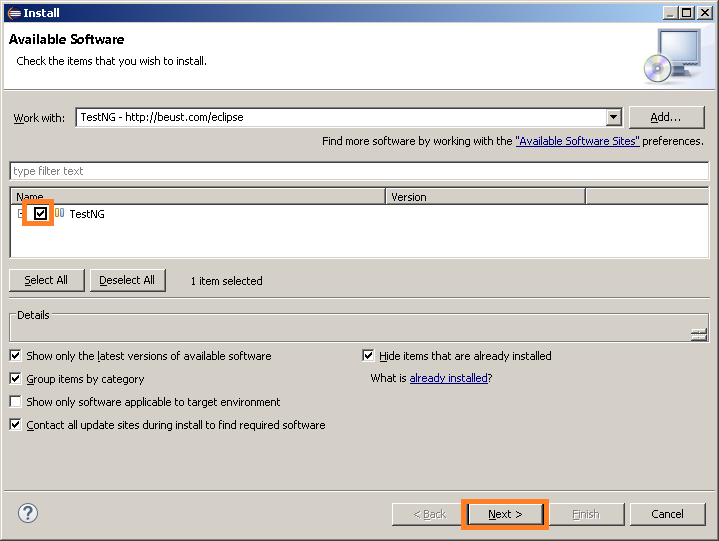 |
| Select TestNG |
n
Step4:-
nAccept the license Agreement -> Finish
n
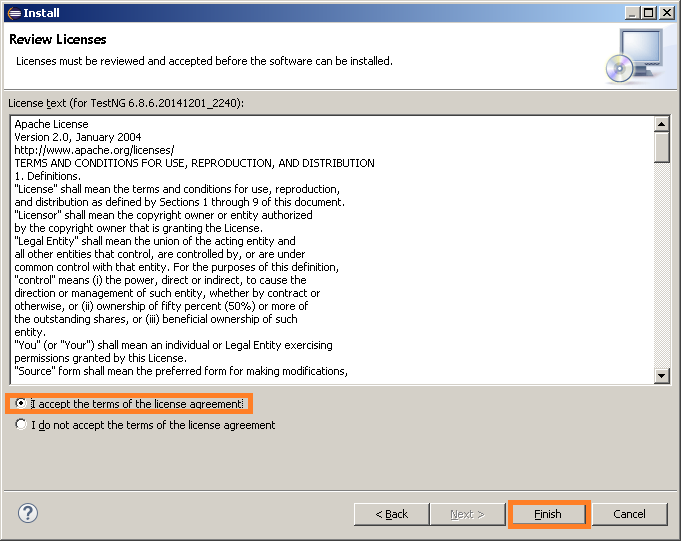 |
| License Agreement Window |
n
Note:– Incase of any warning message popup comes , click OK
n
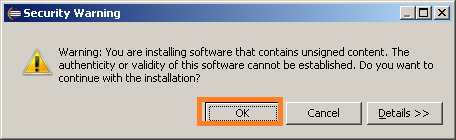 |
| Security Warning Message |
n
Step5:-
nRestart Eclipse
n
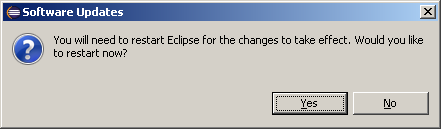 |
| Restart Eclipse window |
n
Step6:-
nVerify TestNG is successfully installed.
nRight click on the Java Project in the solution explorer and check that TestNG option is available.
n
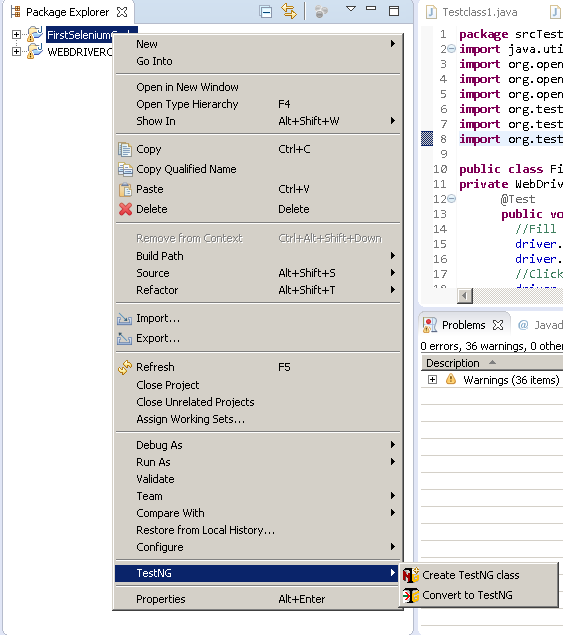 |
| TestNG is Installed |
n
Note:-
n1.It can happen due to company restrictions you may need to do proxy settings to enable installing of new software from eclipse.
n
nHow to do that, ask proxy settings in your team(most of the time development team know this as they are already using eclipse).
nin eclipse follow the path, windows > preferences >search ‘network’ > click on network connections > set the settings something like as shown in the below screenshot
n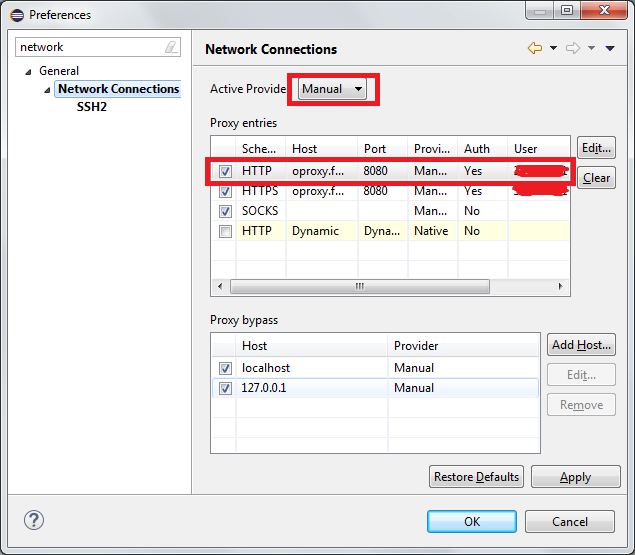 n
n
n2.Another way to download software in eclipse is using “marketplace“
nHelp > Eclipse marketplace > search “testNG” and install 🙂
n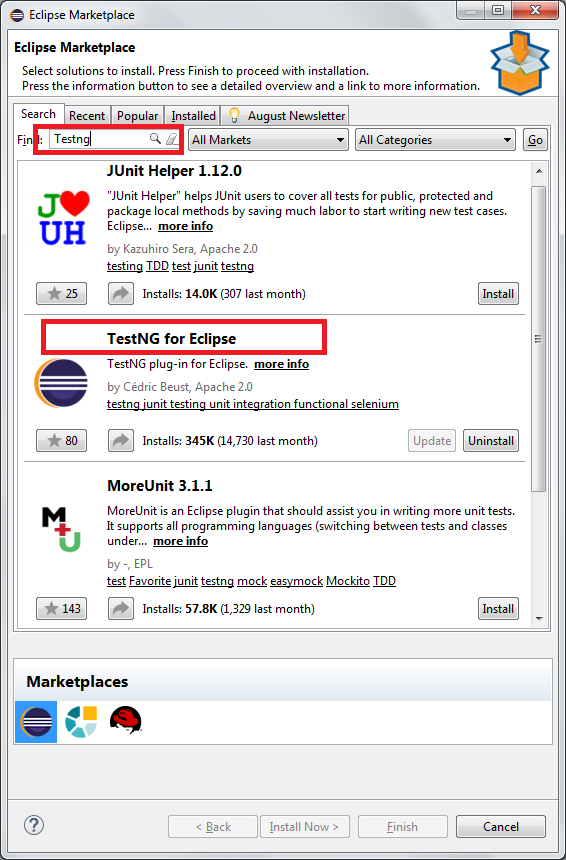
nWriting our First Test Case using TestNG